
A welder’s duty cycle is the share of a set time window a machine can run at a given amperage before it must cool. At a given amperage, a lower duty cycle means fewer welding minutes and more rest. This guide covers the numbers behind that figure and how to work without tripping the thermal cutout.
What a welder duty cycle actually means
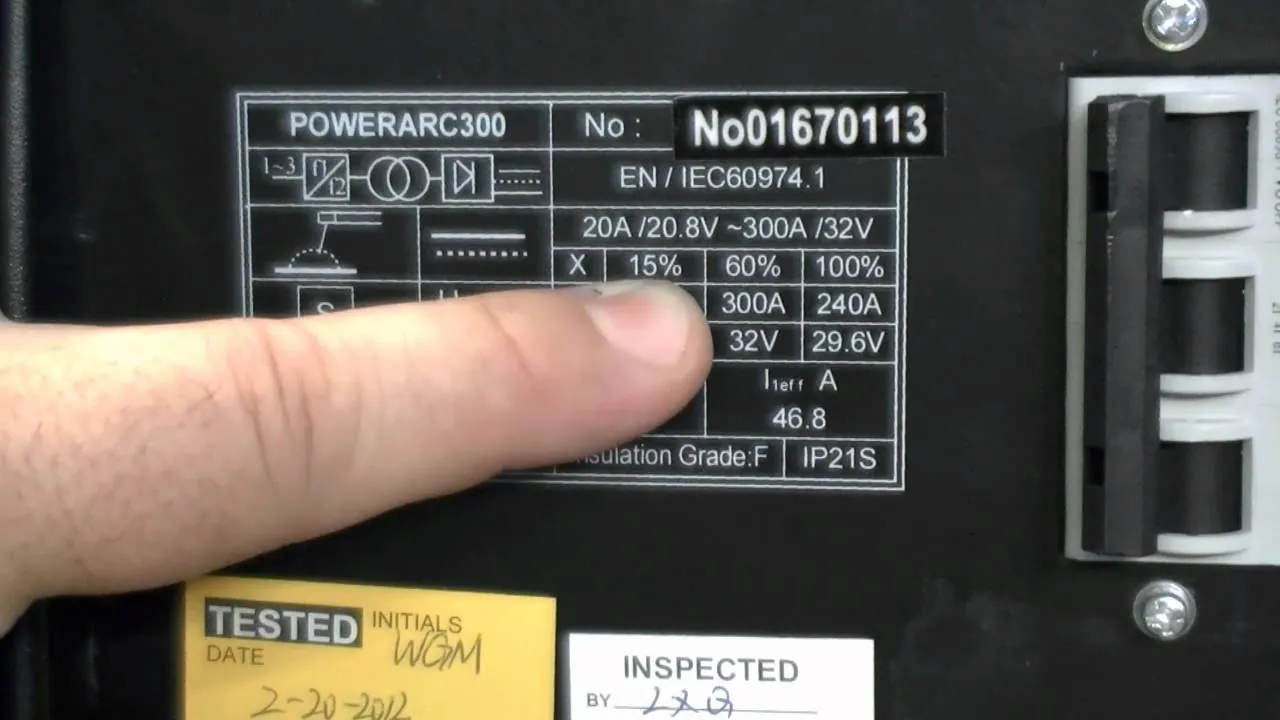
A duty cycle is a rating, not a countdown timer. It tells you how many minutes out of every 10 a welder can run at a specific amperage, at a stated ambient temperature, before the machine needs to cool. Manufacturers publish this on the data plate, and the American Welding Society (AWS) publishes the standard terms and definitions for welding through ANSI/AWS A3.0.
The common mistake is reading the number as a general power level. It isn’t. A machine rated at a lower duty cycle at one amperage might be rated at a higher duty cycle at a lower amperage. The percentage always belongs to an amperage, and the two travel together.
How to work within your machine’s rating
- Read the data plate on the back or side of the machine. Find the row that matches your input voltage — 120V or 240V.
- Note the duty cycle percentages listed. Most plates show two or three, each tied to a different amperage.
- Set your machine to the amperage the job needs. Check that amperage against the plate.
- If your amperage sits at 60%, weld for 6 minutes, then rest for 4. Use a phone timer for the first few sessions.
- If your amperage sits at 100%, you can weld continuously. No rest period is needed.
- Watch the thermal light. If it comes on, stop and let the fan run until it goes off — usually 5 to 15 minutes.
- Log your actual weld time for a week. Most people weld in shorter bursts than they think.
The judgment call is whether to buy a bigger machine or work around the limit. If your work is short beads with breaks for fit-up and grinding, a lower duty cycle rarely bites. If you’re running long, continuous beads on thick plate, the machine will cut out mid-pass and you’ll lose the weld.
Duty cycle numbers at a glance
Ratings vary by machine class and input voltage, so check your own data plate. The figures below are typical and assume a 104°F (40°C) ambient, the standard test condition.
| Situation | What to use | How long | What to watch for |
|---|---|---|---|
| 120V MIG, light sheet metal | 90–110 amps | Often 100% at this range | Voltage drop on long extension cords |
| 240V MIG, 3/16 in. steel | 180–200 amps | 40–60% typical | Thermal light mid-bead |
| Stick welder, 1/8 in. rod | 90–130 amps | 20–40% on small units | Rod sticking as machine derates |
| TIG at low amps | 100–150 amps | Often 60–100% | Torch heat, not machine heat |
| Plasma cutter, 1/4 in. plate | Per the cutter’s plate | 30–60% typical | Air supply, not duty cycle |
| Hot garage in summer | Same amperage | Shorter than the plate says | Ambient heat cuts your real time |
| Long production beads | Higher amperage | Falls fast as amps rise | Duty cycle drops as amps climb |
What separates a smooth session from a stopped one
Experienced welders set up so the machine never has to stop them. They stage parts, clamps, and filler rod before striking an arc, so the rest period gets used for fit-up instead of standing around. That way the 4 minutes of cooling at 60% isn’t wasted time — it’s the next joint getting ready.
What they leave alone is the amperage. Turning the machine down to beat the duty cycle changes the weld. On structural work it isn’t, and the weld fails inspection.
Preparation beats patience
Fit-up, tacking, and cleaning happen before the arc. Doing them during the rest period keeps the arc time productive.
The circuit matters as much as the machine
A dedicated 240V circuit sized for the machine’s input amperage prevents nuisance trips. Undersized wiring is a fire risk, so have a licensed electrician check the circuit.
Common problems and quick fixes
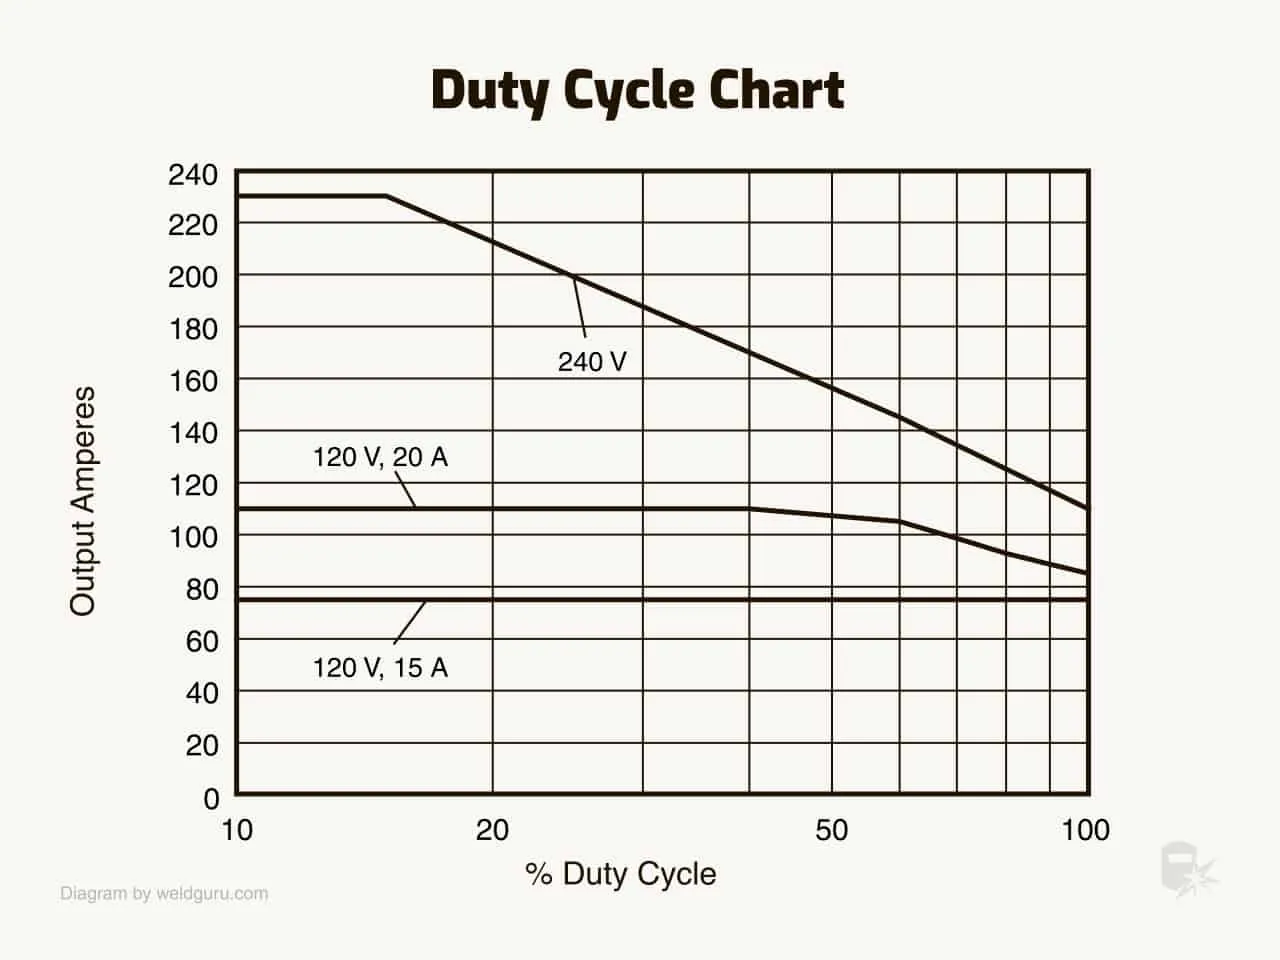
Most duty-cycle complaints are one of a handful of things. Match what you’re seeing to the likely cause before you assume the machine is broken.
| What you notice | What it usually means | What to do first |
|---|---|---|
| Machine cuts out after a few minutes | Thermal protection tripped | Stop, let the fan run until the light clears |
| Cuts out faster than the plate says | Ambient temperature above 104°F (40°C) | Cool the space, add airflow |
| Breaker trips, not the welder | Input circuit too small | Check breaker size against the manual |
| Weak arc, no cutout | Voltage drop on a long cord | Use a shorter, thicker cord |
| Fan runs but no output | Thermal cutout still active | Wait; don’t cycle power repeatedly |
| Cuts out on thick plate only | Amperage above the rated band | Check the plate at that amperage |
The rules and ratings that apply
The American Welding Society publishes ANSI/AWS A3.0, the standard welding terms and definitions, and UL 551 covers the safety certification of welding machines sold in the US. Manufacturers must rate their machines under those conditions, and the data plate is the legal statement of that rating.
If a machine’s plate is missing or unreadable, contact the maker for the spec sheet. For anything involving structural welds, a certified welder or a licensed electrician handles the work — not a homeowner with a hobby unit.
Keeping the machine healthy long-term
Blow out the case with compressed air periodically if you weld in a dusty shop, since dust blocks the cooling fins and shortens the real duty cycle — how often depends on your use, so follow the owner’s manual. Keep the fan intake clear. Check the input cord and plug for heat marks after heavy sessions. If the machine starts cutting out earlier than it used to, that’s your sign the cooling path needs attention — not that the rating changed.
When a different machine makes more sense
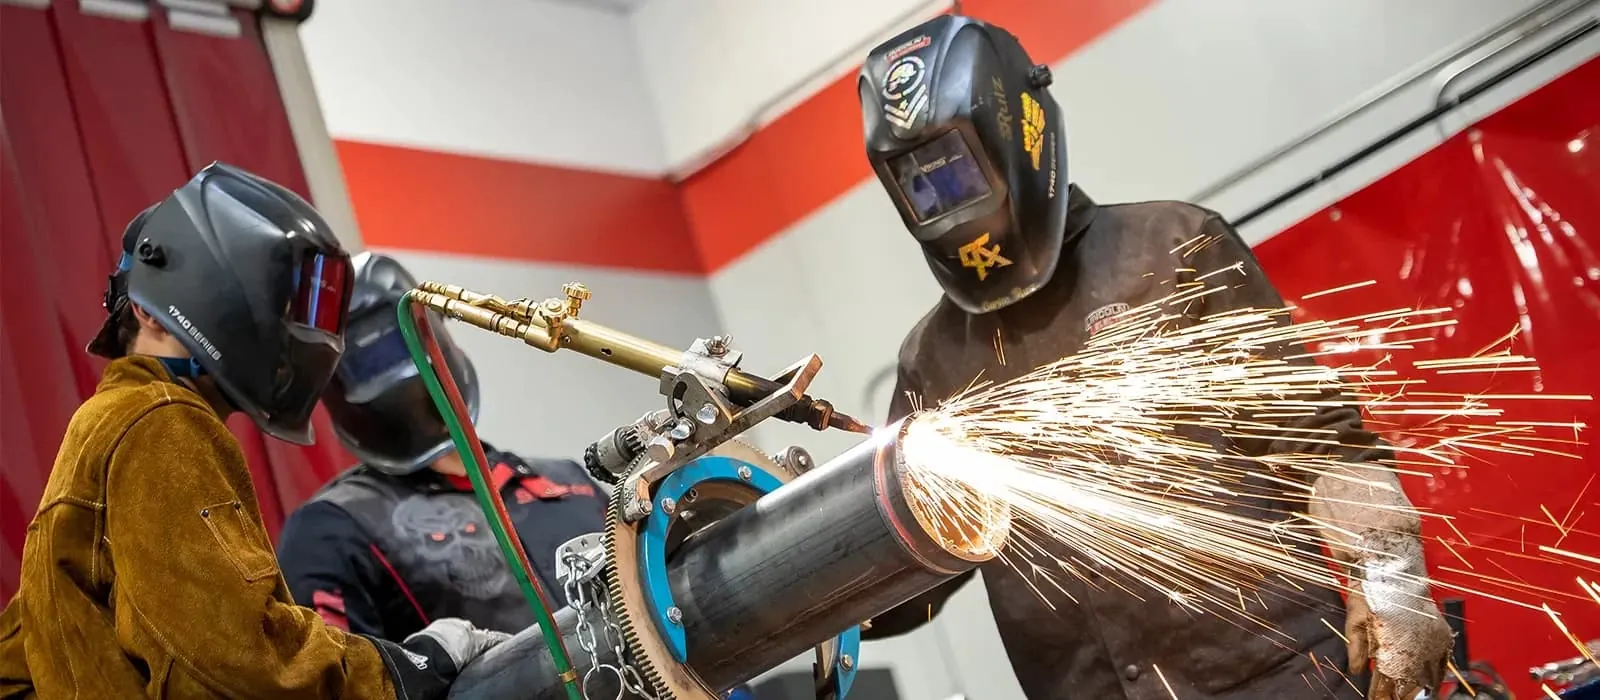
If your work is mostly long, continuous beads at high amperage, a lower-duty-cycle machine will stop you constantly — buy a 100% rated unit instead. If you only weld thin sheet in short bursts, a lower-rated machine is fine and cheaper. And if you’re welding structural or pressure work, the duty cycle is the least of your concerns: get a certified welder and an inspected procedure.
Frequently asked questions
What does 60% duty cycle mean on a welder?
It means the machine can weld for 6 minutes out of every 10 at its rated amperage, then must cool for 4 minutes. The rating only applies at that specific amperage and at 104°F (40°C) ambient.
Can I weld longer than the duty cycle says?
No. The thermal protection will cut output to prevent damage. Running past the rating repeatedly shortens the machine’s life, even if the cutout saves it each time.
How long does a welder need to cool down?
It depends on how hot the machine got. Most thermal cutouts clear in 5 to 15 minutes with the fan running. If it clears in under 2 minutes, your ambient temperature or amperage is likely the real problem.
Is it safe to keep welding right after the thermal light goes off?
Yes, once the light clears the machine is ready. But if it trips again within a few minutes, stop and check your amperage against the plate — the machine is telling you it’s being pushed past its rating.
Why does my welder cut out faster in summer?
Duty cycles are rated at 104°F (40°C) ambient. A hot garage can push the machine past that, so the cooling takes longer and the cutout trips sooner. Add airflow or move the work.
Does a longer extension cord affect duty cycle?
Yes, indirectly. A long or thin cord causes voltage drop, so the machine draws more current to hold the same output, runs hotter, and derates sooner. Use the shortest, thickest cord rated for the amperage.
Do all welders use the same 10-minute window?
Yes. The 10-minute period is the industry standard, so a 60% rating means the same thing on any brand’s data plate.
Conclusion
Duty cycle is one number with a lot of conditions attached, and your own data plate is the only source that matters for your machine. Read it once, set a timer for the first few sessions, and the thermal cutout stops being a surprise.
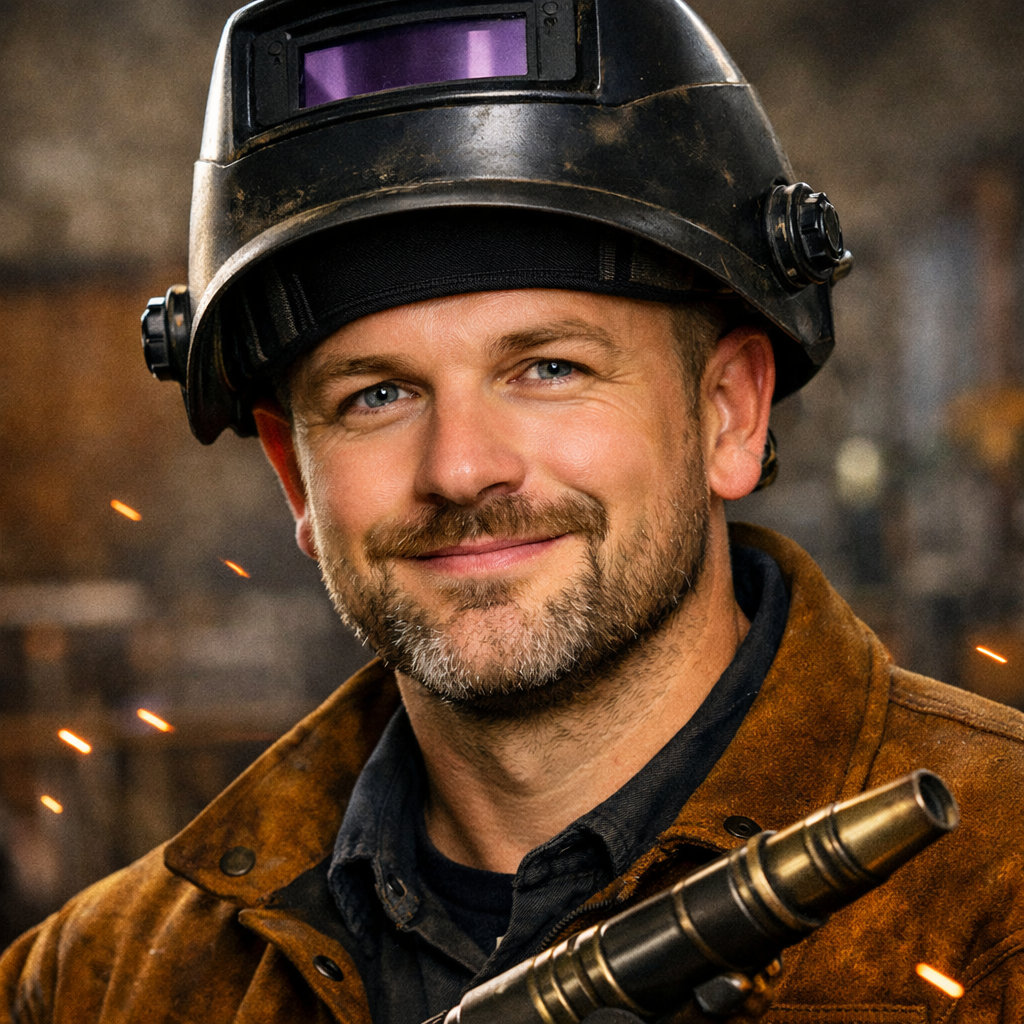
Hi, I’m Zachary Ford. I’m passionate about welding and dedicated to helping both beginners and experienced welders make informed decisions. I research, test, and write about welding helmets, welding machines, safety equipment, and essential workshop tools. My goal is to provide honest reviews, practical buying guides, and easy-to-follow tutorials that help you weld more safely, work more efficiently, and choose the right gear with confidence.