
Welding Helmet Inspection Checklist
A welding helmet is one of the most important pieces of safety equipment for any welder. It protects your eyes, face, and neck from dangerous sparks, UV rays, and flying debris. But just owning a helmet isn’t enough. Regular inspection is key to keeping yourself safe and ensuring your equipment performs as expected. Many welders skip inspections or don’t know what to check, which can lead to accidents or poor weld quality. This article covers a complete welding helmet inspection checklist. You’ll learn what to look for, why each step matters, and how to spot early signs of trouble.
Why Welding Helmet Inspection Matters
A welding helmet isn’t just a shield, it’s a complex tool. The lens can filter intense light, the shell must withstand impact, and the headgear should fit comfortably. Over time, parts wear out, dirt builds up, and hazards increase. A damaged helmet can cause eye injury, burns, or even blindness.
According to the US Bureau of Labor Statistics, over 500 welding-related eye injuries occur each year. Many of these accidents happen because welders use faulty or dirty helmets. Regular inspection helps prevent these risks. It also ensures your helmet meets ANSI Z87.1 safety standards, which are required in most workplaces.
Pre-inspection Preparation
Before starting your inspection, follow these simple steps:
- Clean Work Area: Remove dust and clutter where you’ll inspect the helmet. This helps you see every detail.
- Gather Tools: Have a soft cloth, flashlight, and user manual nearby. These help with cleaning and checking parts.
- Wear Gloves: Protect your hands from sharp edges or residue.
Inspect your helmet in natural light if possible. It’s easier to spot cracks or wear.
Visual Inspection: Shell And Exterior
The outer shell is your first defense against heat and impact. Here’s what to check:
- Cracks or Fractures: Look for small cracks, deep scratches, or chips. Even a tiny crack can weaken the helmet.
- Burn Marks: Check for discoloration or burn spots, especially near the lens opening. This may signal exposure to extreme heat.
- Loose Parts: Gently shake the helmet. Listen for rattling. Tighten any screws or fasteners.
- Impact Damage: Inspect for dents or crushed areas, which reduce protection.
If you find any cracks or major damage, replace the helmet immediately. Don’t try to repair the shell with glue or tape. It won’t restore safety.
Lens Inspection: Clarity And Function
The lens is critical for protecting your eyes and seeing your work. Helmets have two main types: fixed shade and auto-darkening lenses.
Fixed Shade Lens
- Scratches or Pitting: Hold the lens up to a light source. Look for scratches, pits, or cloudiness. Even minor damage can distort vision.
- Secure Fit: Ensure the lens sits tightly in its frame. Loose lenses can fall out or let in harmful light.
- Shade Number: Confirm the shade matches your welding process (typically shade 10-13 for arc welding).
Auto-darkening Lens
- Sensor Condition: Check the sensors for dirt or damage. Dirty sensors may fail to darken quickly.
- Response Test: Activate the lens by exposing it to sunlight or a welding arc. It should darken instantly.
- Battery Status: Review the battery indicator, if present. Weak batteries cause delays and increase risk.
- Control Settings: Make sure sensitivity and delay settings are correct for your job.
If the lens is scratched, cloudy, or slow to darken, replace it. Never weld with a compromised lens.

Credit: heavyvehicleinspection.com
Headgear And Straps: Comfort And Security
A helmet that fits poorly is not safe. Inspect these areas:
- Adjustment Mechanism: Test the ratchet or pin-lock system. It should adjust easily and hold its position.
- Cushion Pads: Look for worn, compressed, or missing pads. Replace if needed for comfort and stability.
- Straps: Examine for cracks, fraying, or loose ends. Straps should be strong and secure.
- Sweatband: Check for cleanliness and wear. A dirty sweatband can cause skin irritation.
A loose or unstable helmet may shift during welding, exposing your face to hazards. Make adjustments before each use.
Electrical Components: Auto-darkening Helmets
Auto-darkening helmets have extra parts that need special attention:
- Battery Compartment: Open the battery slot and inspect for corrosion or leaks. Replace batteries regularly.
- Wiring: Look for exposed wires or signs of wear. Damaged wiring can cause the lens to fail.
- Solar Panel: Clean the panel gently with a dry cloth. Dust or grime reduces charging efficiency.
If you notice electrical problems, consult the user manual or contact the manufacturer. Never ignore electrical faults—they can lead to sudden lens failure.
Cleanliness And Hygiene
A clean helmet is safer and more comfortable. Dirt or sweat can obscure vision and harbor bacteria.
- Interior Cleaning: Wipe the inside shell and headgear with a damp cloth. Avoid harsh chemicals.
- Lens Cleaning: Use lens-specific wipes or a microfiber cloth. Never use abrasive cleaners.
- Exterior Cleaning: Remove dust and debris from the outside. Pay special attention to vents and seams.
Regular cleaning prolongs the life of your helmet and reduces health risks.
Comparison: Fixed Shade Vs. Auto-darkening Helmets
Choosing the right helmet affects your inspection process. Here’s a simple comparison:
| Feature | Fixed Shade | Auto-Darkening |
|---|---|---|
| Lens Type | Permanent | Adjustable (sensor) |
| Inspection Focus | Scratches, shade number | Sensor, battery, settings |
| Cost | Lower | Higher |
| Maintenance | Simple | More complex |
Auto-darkening helmets require more steps during inspection, especially for electronics. Fixed shade helmets are simpler but can be less flexible for different welding tasks.

Credit: www.scribd.com
Inspection Frequency And Record Keeping
How often should you inspect your welding helmet? It depends on usage and work environment.
- Daily Inspection: Quick check before every shift or job. Look for obvious damage or dirt.
- Weekly Inspection: More detailed review—check all components and clean thoroughly.
- Monthly Inspection: Deep inspection, including battery replacement and checking for hidden cracks.
Keep a log of your inspections. This helps track wear and ensures you don’t miss important maintenance. Many companies use a simple checklist:
| Date | Inspector | Shell | Lens | Headgear | Electrical | Cleaning | Notes |
|---|---|---|---|---|---|---|---|
| 2026-06-05 | John Doe | Good | Scratched | Replaced | OK | Done | Lens replaced |
| 2026-06-12 | Jane Smith | Good | Clear | Good | Battery low | Done | Battery replaced |
This log shows trends and helps spot recurring problems. It also proves compliance with safety rules.
Common Problems And How To Fix Them
Even experienced welders can miss small issues. Here are common problems and solutions:
- Lens Slow to Darken: Check battery and sensor cleanliness. Replace batteries and clean sensors.
- Helmet Feels Loose: Adjust headgear and replace worn pads or straps.
- Cracked Shell: Replace the helmet—never attempt repair.
- Dirty Lens: Clean with approved wipes, not paper towels.
- Electrical Faults: Inspect wiring and solar panel; consult the manual if unsure.
Many beginners forget to check the battery life in auto-darkening helmets. A weak battery can cause the lens to flicker or fail, exposing your eyes to dangerous light. Another common mistake is ignoring small scratches on the lens. These can distort your view and affect weld quality.
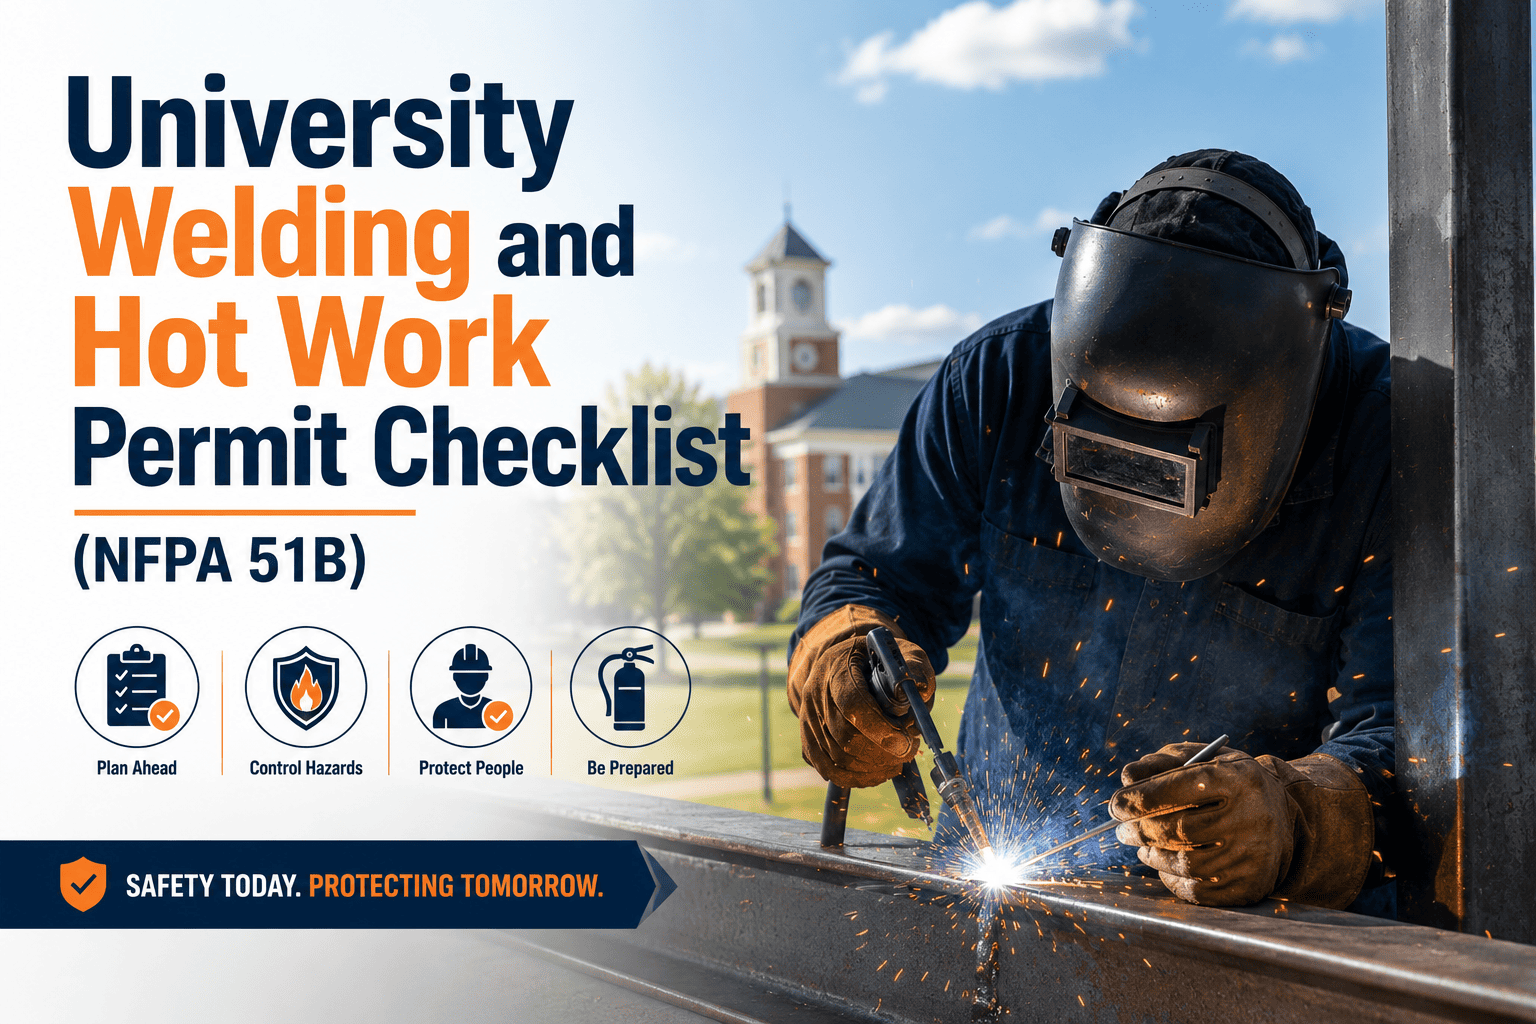
Credit: oxmaint.com
Non-obvious Insights: What Many Miss
Some inspection steps are easy to overlook:
- Check for UV Light Leaks: After inspecting the lens and shell, use a UV flashlight (if available) to test for leaks around the lens and frame. Even small gaps can let in harmful rays.
- Inspect for Odors: A strong chemical smell inside the helmet can signal degradation of materials or bacterial growth. Clean thoroughly or replace affected parts.
- Review Helmet Certification Labels: Check if the helmet still displays the ANSI Z87.1 or other certification stickers. Faded or missing labels may mean the helmet is too old for safe use.
Practical Tips For Safe Welding Helmet Use
Regular inspection goes hand-in-hand with smart use:
- Store Properly: Keep your helmet in a dry, cool place. Avoid leaving it in direct sunlight or near chemicals.
- Avoid Sharing Helmets: Sharing increases wear and spreads germs. If you must share, disinfect and inspect before each use.
- Replace Parts Promptly: Don’t wait for complete failure. Replace worn pads, lenses, and batteries as soon as you notice problems.
- Read the Manual: Manufacturers include useful advice and maintenance schedules in their manuals. Refer to it often.
For extra guidance on welding helmet standards, visit the OSHA Welding, Cutting, and Brazing Safety page. It covers federal regulations and best practices.
Sample Welding Helmet Inspection Checklist
Use this checklist each time you inspect your helmet:
- Shell: Check for cracks, burn marks, and impact damage.
- Lens: Inspect for scratches, clarity, secure fit, and correct shade.
- Auto-Darkening Features: Test sensors, battery, and settings.
- Headgear: Review adjustment, pads, straps, and sweatband.
- Electrical Components: Examine battery compartment, wiring, and solar panel.
- Cleanliness: Clean inside and outside thoroughly.
- Certification Labels: Confirm ANSI or other safety labels are visible.
- UV Light Leak Test: If possible, check for leaks around lens.
- Odor Check: Smell for chemical or musty odors.
- Record Results: Log the date, findings, and actions taken.
Following these steps every time reduces risk and keeps your equipment in top shape.
Inspection Table: What To Check And Actions
For easy reference, here’s a summary table:
| Component | What to Check | Action |
|---|---|---|
| Shell | Cracks, burns, dents | Replace if damaged |
| Lens | Scratches, clarity, fit | Replace or clean |
| Headgear | Pads, straps, adjustment | Adjust or replace |
| Auto-Darkening | Sensors, battery, settings | Clean, replace battery |
| Electrical | Wiring, solar panel | Repair or replace |
| Cleanliness | Dirt, sweat, bacteria | Clean thoroughly |
Final Thoughts
Inspecting your welding helmet isn’t just about following rules—it’s about protecting your vision, your health, and your work quality. Many welders forget to check small details, leading to big problems. By using a thorough welding helmet inspection checklist, you make sure your equipment is reliable every time you weld. Investing a few minutes in inspection can save you from injuries, downtime, and costly repairs. Stay safe, weld smart, and keep your helmet ready for every job.
Hi, I’m Zachary Ford. I’m passionate about welding and dedicated to helping both beginners and experienced welders make informed decisions. I research, test, and write about welding helmets, welding machines, safety equipment, and essential workshop tools. My goal is to provide honest reviews, practical buying guides, and easy-to-follow tutorials that help you weld more safely, work more efficiently, and choose the right gear with confidence.