
For most automotive and structural repair jobs, you should choose plug welding because it’s accessible with standard shop equipment, whereas spot welding is superior only for high-volume factory assembly lines.
Comparing welding methods for sheet metal
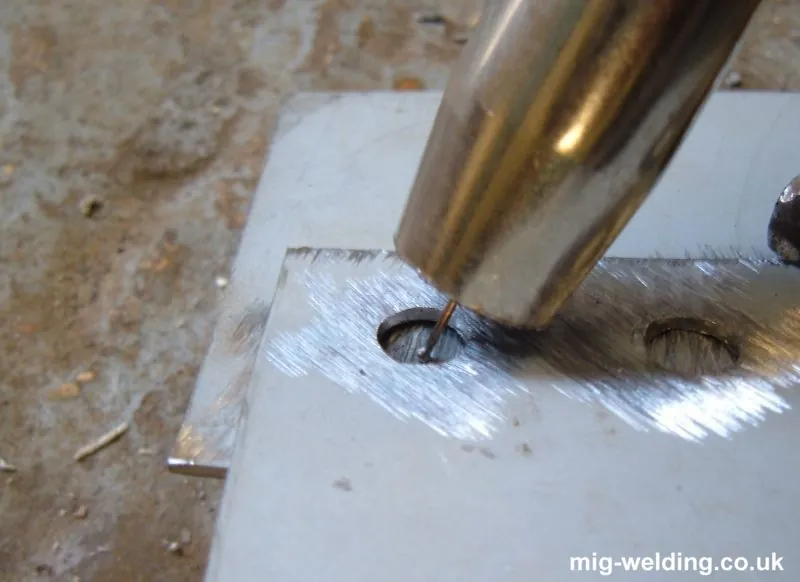
Selecting the right method depends on your access to specialized machinery and the requirements of the joint. While both techniques create strong bonds, they differ significantly in their setup and execution.
| Method | How long | Effort | Cost | Best for |
|---|---|---|---|---|
| Spot welding | Seconds | Low | High | Factory production |
| Plug welding | Minutes | Medium | Low | Auto body repair |
| Arc welding | Minutes | High | Medium | Structural thick steel |
Spot welding provides a clean, fast bond for mass-produced parts. Plug welding offers a versatile alternative for custom work where you need to join two pieces of metal through a pre-drilled hole.
Industrial resistance spot welding
This method uses two copper electrodes to clamp metal sheets together, passing a high electrical current through the contact point to fuse the materials. It’s the gold standard for car manufacturing because it creates consistent, repeatable welds without adding filler material.
- Clean the metal surfaces to remove paint, rust, or coatings.
- Position the two sheets between the copper electrode tips.
- Apply pressure and trigger the current for a short, timed burst.
- Hold the pressure for a brief moment as the metal cools.
This process is incredibly fast and produces minimal heat distortion on factory-fit panels. However, the machines are expensive, heavy, and require a stable power supply that most home garages can’t provide.
Manual plug welding for repairs
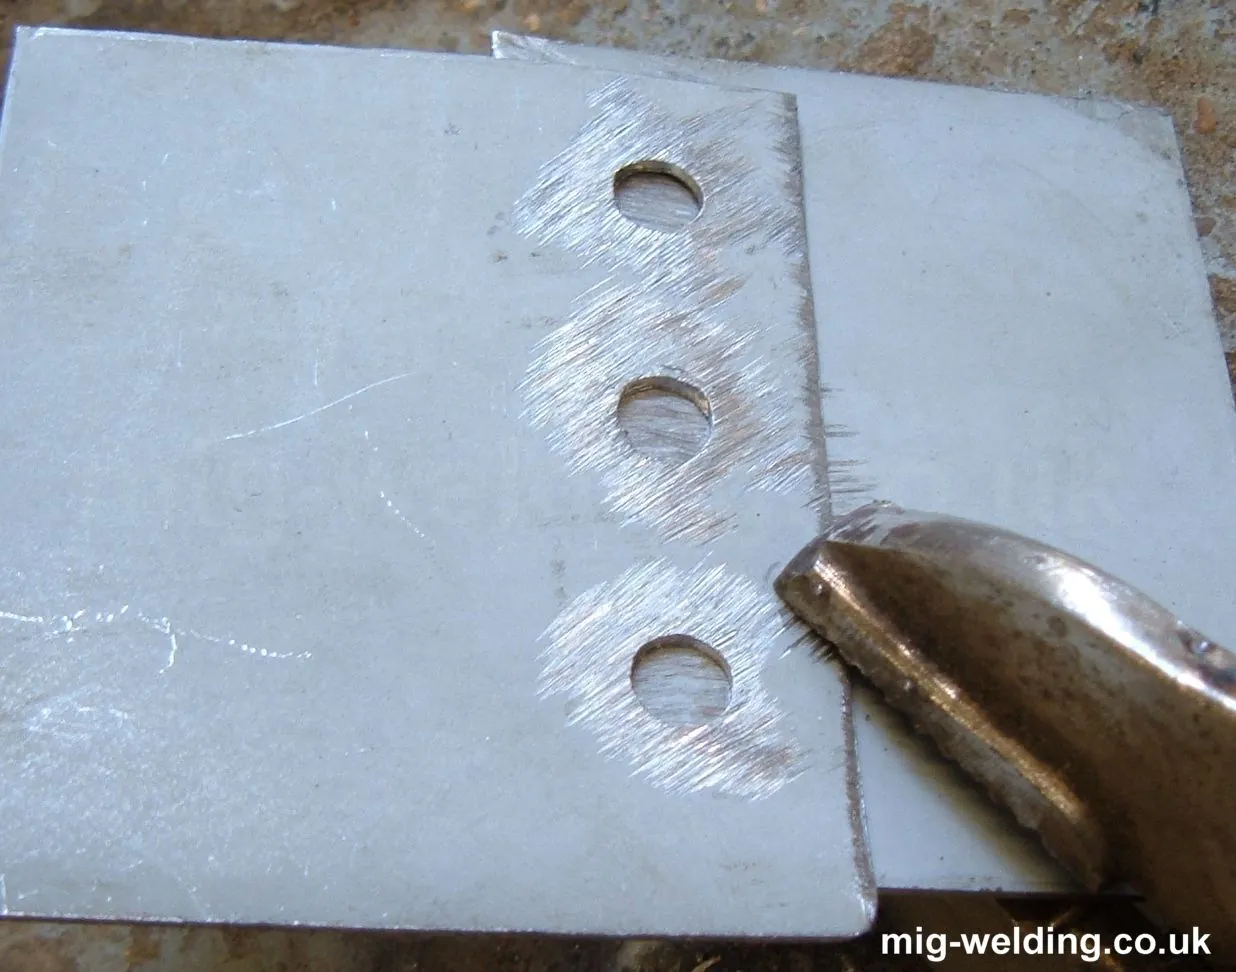
Plug welding is a technique where you drill a hole in the top piece of metal and weld through that hole to attach it to the bottom layer. It’s the standard way to replace a car panel when you can’t reach both sides of the metal.
- Drill a 5/16-inch hole into the top sheet of metal.
- Clamp the top sheet tightly against the bottom panel.
- Use a MIG welder to fill the hole, starting at the edges.
- Work your way toward the center to ensure full penetration.
This method is highly effective for DIY projects because it uses standard MIG equipment. It does require careful grinding afterward to smooth the surface, and you must ensure your machine settings match the thickness of the steel you’re joining to avoid burning through the bottom layer. The American Welding Society provides safety guidelines for all manual welding processes.
Alternative fusion methods
If you don’t have a spot or MIG welder, you might consider brazing or using industrial structural adhesives. These methods are common when working with modern, heat-sensitive high-strength steels found in newer vehicles.
- Clean the mating surfaces with a solvent to remove oil.
- Apply the structural adhesive or brazing alloy as specified.
- Clamp the parts until the material sets or cools completely.
These methods are excellent for preventing the corrosion that often follows welding. However, these methods must be used in accordance with manufacturer specifications, as some adhesives are specifically engineered for high-stress structural applications.
Choosing the right technique
When you’re in a hurry, plug welding wins because it uses portable equipment you likely already have. When you want the best possible result whatever it takes, spot welding is the winner for its superior strength and lack of surface cleanup. The main trade-off is that spot welding requires a huge upfront investment in specialized equipment, while plug welding costs little but requires more time and manual finishing.
Essential rules for metal joining
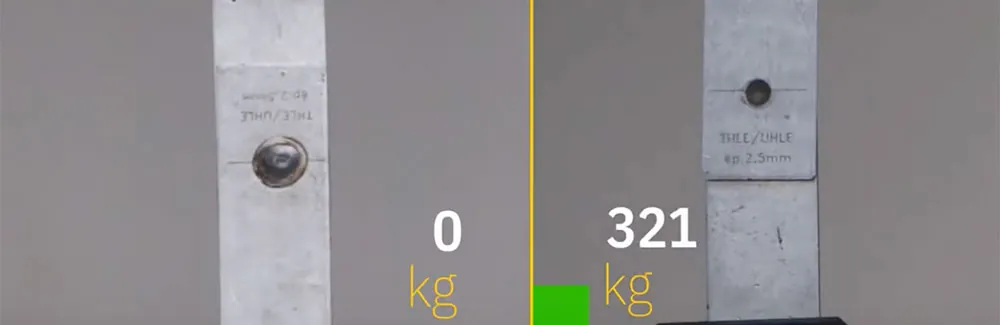
Regardless of the method, ensure the base metal is clean and free of contaminants. Dirty metal results in weak welds and safety risks. Always wear proper PPE, including a welding helmet, fire-resistant clothing, and gloves. If you’re working on vehicle frames or structural parts, consult the vehicle manufacturer’s repair manual, as improper welds can compromise the crash safety of the entire car.
Frequently asked questions
Can I use a regular welder for plug welding?
Yes, a standard MIG welder is the most common tool used for plug welding. You simply adjust the wire feed speed and voltage to match the thickness of the metal you’re joining to ensure a solid, deep weld.
How long does a plug weld take to cool?
A plug weld usually cools enough to handle in about 2 to 5 minutes. The exact time depends on the thickness of the metal and the ambient temperature of your shop, so always use pliers to check the heat.
Is it safe to weld over paint?
No, never weld over paint, as it creates toxic fumes and prevents a strong bond. You must grind the metal down to bare, shiny steel at the weld site to ensure the electricity flows properly and the metal fuses correctly.
What happens if I burn through the metal?
You’ll need to stop immediately, grind away the failed weld, and try again with lower heat settings. Burning through usually happens when your welder is set too high for the thin sheet metal, weakening the entire joint.
How many plug welds do I need for a panel?
You should place your plug welds about 1 to 2 inches apart along the seam. This spacing provides enough structural integrity for typical body panels while keeping the heat spread out to prevent the metal from warping.
Why is my weld not sticking?
Your weld is likely failing because the metal is dirty, the ground clamp isn’t attached directly to the workpiece, or your settings are too low. Check these three things before you try to weld again to ensure a clean, strong bond.
Conclusion
The quality of your weld is determined by the preparation you do before you strike the arc. Taking the time to clean your metal and set your machine correctly will always give you a better result than trying to fix a bad weld later. Always prioritize safety gear and proper ventilation, as welding fumes can be dangerous in an enclosed space.

Hi, I’m Zachary Ford. I’m passionate about welding and dedicated to helping both beginners and experienced welders make informed decisions. I research, test, and write about welding helmets, welding machines, safety equipment, and essential workshop tools. My goal is to provide honest reviews, practical buying guides, and easy-to-follow tutorials that help you weld more safely, work more efficiently, and choose the right gear with confidence.