Grinding welds in tight spots can be one of the trickiest parts of your welding project. You know the feeling—your tools won’t fit just right, and getting a smooth finish seems almost impossible.
But what if you could master the techniques and tools that make grinding in those hard-to-reach areas easier and more precise? You’ll discover practical tips and expert advice that will help you tackle those tight corners and blind spots with confidence.
Whether you’re a seasoned welder or just starting out, learning how to grind welds in tight spaces will save you time, improve your results, and give your work a professional edge. Ready to take your welding skills to the next level? Let’s dive in!
Tools For Tight Spot Grinding
Grinding welds in tight spots requires the right tools. Choosing proper tools helps reach narrow spaces and achieve smooth finishes. Some tools provide power, while others offer precision and control. Understanding each tool’s strengths makes the job easier and safer.
Angle Grinders
Angle grinders have strong motors and spinning discs. They remove welds quickly and handle tough metal. Compact models fit into tighter spaces than larger grinders. Use smaller discs for better control. Keep a firm grip to avoid slipping in tight spots.
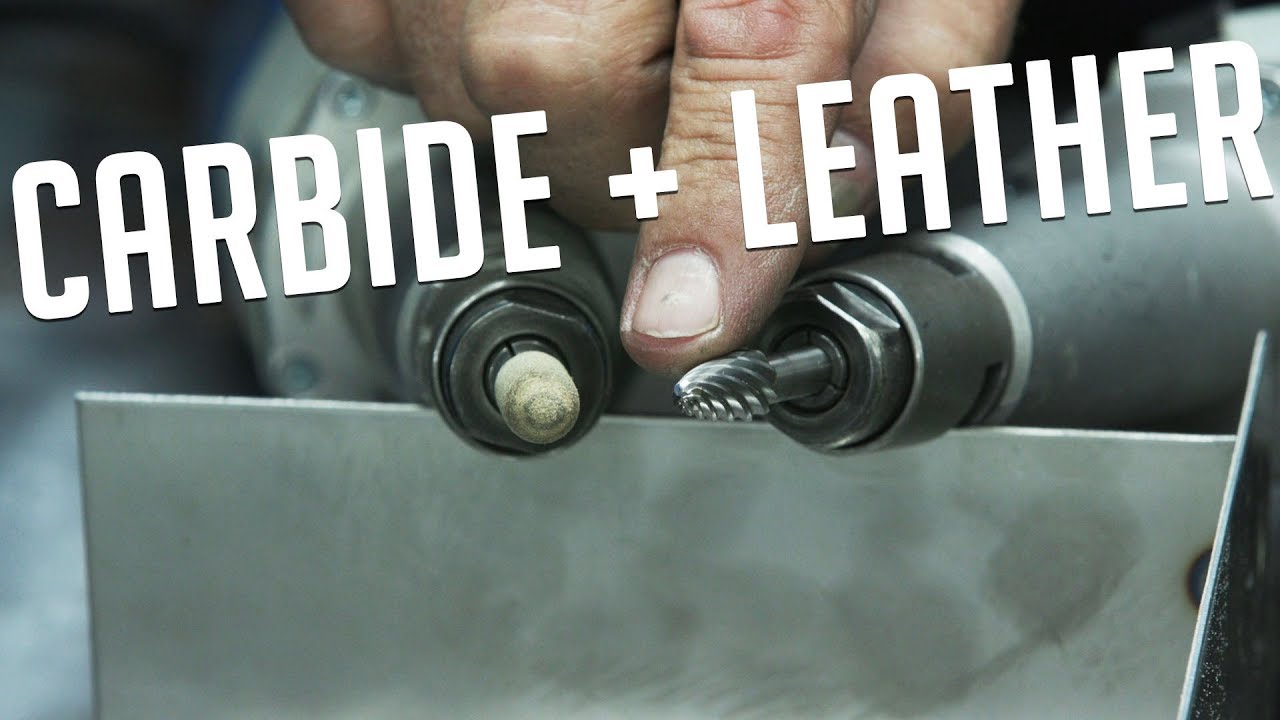
Die Grinders And Carbide Burrs
Die grinders are small, handheld tools with high speed. They use carbide burrs to grind and shape metal precisely. Burrs come in different shapes for detailed work. These tools work well inside corners and narrow gaps. They provide excellent control for fine grinding.
Pencil Grinders And Dremels
Pencil grinders and Dremel tools are lightweight and easy to handle. They use small grinding bits for detailed tasks. Perfect for very tight spots and delicate welds. Their small size allows access where larger grinders cannot fit. Ideal for finishing work and smoothing edges.
Flap Wheels And Mounted Stones
Flap wheels are abrasive discs made of layered sanding flaps. They conform to curved or uneven surfaces easily. Mounted stones are small grinding wheels fixed on a spindle. Both tools work well on tight curves and inside corners. They create smooth finishes without removing too much metal.

Credit: fsmdirect.com
Techniques For Precision Grinding
Precision grinding is essential for clean, smooth welds, especially in tight spots. Using the right techniques ensures you remove only what’s needed. It helps maintain the strength of the metal and improves the weld’s appearance. Small mistakes can ruin the weld or damage the surrounding metal.
Understanding how to control your tools and angles is key. You need steady hands and patience to work in cramped spaces. Different methods and tools suit different tight areas. Below are some proven techniques to grind welds accurately and efficiently.
Grinding Inside Corners
Inside corners are hard to reach with standard tools. Use a die grinder with a small carbide burr for precision. This tool fits into tight angles and removes weld material evenly. A curved flap disc also works well to follow the corner shape. Keep the tool steady and move slowly to avoid gouging the metal.
Blending Welds Smoothly
Blending means making the weld transition seamless with the base metal. Start with coarse grit discs to shape the weld. Then, switch to finer grits to smooth the surface. Use a small orbital sander or hand files to blend edges gently. Blend in short, controlled strokes to keep the area even.
Controlling Material Removal
Removing too much material weakens the weld. Use light pressure on your grinder to control removal. Check the weld often and stop grinding when it looks right. Work in small sections to avoid overheating the metal. Cooling the metal with water helps prevent damage during grinding.
Finishing Touches
After grinding, inspect the weld closely for imperfections. Use a wire brush or polishing pad to clean the area. Apply a final polish with a fine abrasive for a smooth finish. Proper finishing prevents rust and prepares the weld for painting or coating. Take your time to achieve a professional look.
Safety Tips While Grinding
Grinding welds in tight spots can be tricky and risky without proper safety measures. Sparks, metal shards, and tool slips can cause injuries. Follow these safety tips to protect yourself and ensure smooth work.
Protective Gear Essentials
Always wear safety glasses or a face shield to protect your eyes. Use heavy-duty gloves to shield your hands from sharp edges and sparks. Wear a long-sleeve shirt and pants made from flame-resistant material. Use ear protection to prevent hearing damage from noisy grinders. A dust mask or respirator helps avoid inhaling metal dust and fumes.
Handling Sharp Metal Shards
Metal shards can be very sharp and cause cuts. Avoid using bare hands to remove debris. Use pliers or a brush to clear shards safely. Keep your work area clean to prevent slipping or accidental contact. Dispose of metal scraps properly to avoid injuries later.
Maintaining Tool Control
Hold the grinder firmly with both hands for better control. Use the correct grinding disc for your task to prevent tool kickback. Always grind in a steady, controlled motion to avoid slips. Check your tool before use to ensure it is in good working condition. Never force the grinder into tight spots; let the tool do the work.
Credit: www.youtube.com
Common Challenges And Solutions
Grinding welds in tight spots presents unique challenges that require specific techniques and tools. Limited space makes it hard to reach certain areas and control the grinding process. These challenges can slow down work and affect the quality of the finish. Understanding common problems and their solutions helps welders work efficiently and safely.
Accessing Blind Corners
Blind corners are tricky because they hide from direct view and limit tool movement. Use small, angled grinding tools like mini die grinders or rotary tools with narrow attachments. These tools fit better into tight spaces and allow precise control. Changing the angle of your tool often helps reach hidden welds. Patience is key to avoid damaging the surrounding metal.
Avoiding Over-grinding
Over-grinding weakens the metal and changes the part shape. Use a gentle touch and light pressure to prevent removing too much material. Choose the right grinding disc size and grit for the job. Start with a coarse grit for heavy welds, then switch to finer grits for smoothing. Frequently check your progress to stop before going too deep.
Managing Tool Fatigue In Tight Spaces
Grinding in cramped areas can tire your hands and arms quickly. Use tools with ergonomic designs and comfortable grips to reduce strain. Take short breaks often to rest your muscles and avoid mistakes. Use extension handles or flexible shafts to improve reach without awkward positions. Proper body positioning also helps maintain steady control and reduces fatigue.
Material Considerations
Grinding welds in tight spots demands attention to the metal type. Different metals react differently to grinding. Choosing the correct method and tools depends on the material. Understanding these differences improves the finish and avoids damage.
Grinding Mild Steel Vs Stainless Steel
Mild steel is softer and easier to grind. It wears down abrasives faster but creates less heat. Stainless steel is harder and retains heat longer. Excess heat can cause discoloration or warping. Use slower grinding speed with stainless steel. This helps prevent damage and keeps the weld strong.
Choosing The Right Abrasive Discs
Select abrasive discs based on the metal type. For mild steel, aluminum oxide discs work well. They are cost-effective and cut quickly. For stainless steel, use zirconia or ceramic discs. These last longer and handle heat better. Using the right disc improves efficiency and surface quality.
Adapting Techniques For Different Metals
Adjust grinding pressure according to the metal. Light pressure suits stainless steel to reduce heat buildup. Mild steel tolerates firmer pressure for faster material removal. Keep the tool moving to avoid grooves. Use short bursts to control heat in tight spaces. Proper technique extends disc life and protects the metal.
Frequently Asked Questions
What Is The Best Tool For Grinding Metal In Tight Spaces?
The best tool for grinding metal in tight spaces is a pneumatic or electric die grinder with tungsten carbide burrs. Its compact size and precision cut steel efficiently in restricted areas. Small pencil grinders or Dremels with carbide bits also work well for detailed grinding.
Why Do Welders Drink Milk After Welding Galvanized?
Welders drink milk after welding galvanized metal to help neutralize zinc oxide fumes. Milk soothes throat irritation and reduces metal fume fever risk.
What Is The Best Tool To Grind Down Welds?
The best tool to grind down welds is an angle grinder with an abrasive grinding wheel. For tight spaces, use a die grinder with tungsten carbide burrs or a Dremel with small carbide bits. Always finish with flap wheels or sandpaper for a smooth surface.
How To Grind Down Spot Welds?
Use a die grinder with a tungsten carbide burr to grind spot welds. Follow with flap wheels or sandpaper for smooth finishing. Wear safety glasses and gloves during the process.
Conclusion
Grinding welds in tight spots takes patience and the right tools. Use small grinders or files to reach narrow areas easily. Move slowly and check your progress often to avoid removing too much metal. Keep safety gear on to protect yourself from sparks and dust.
With practice, you will improve your control and finish quality. Remember, steady hands and the right approach make tough spots manageable. Keep these tips in mind for cleaner, smoother welds every time.