
Starting to weld means picking one process, getting the safety gear on, and running your first beads on scrap steel. Stick welding (SMAW) is the usual starting point because the machine is cheap. This guide covers the steps, settings, and problems you’ll hit.
What welding actually is
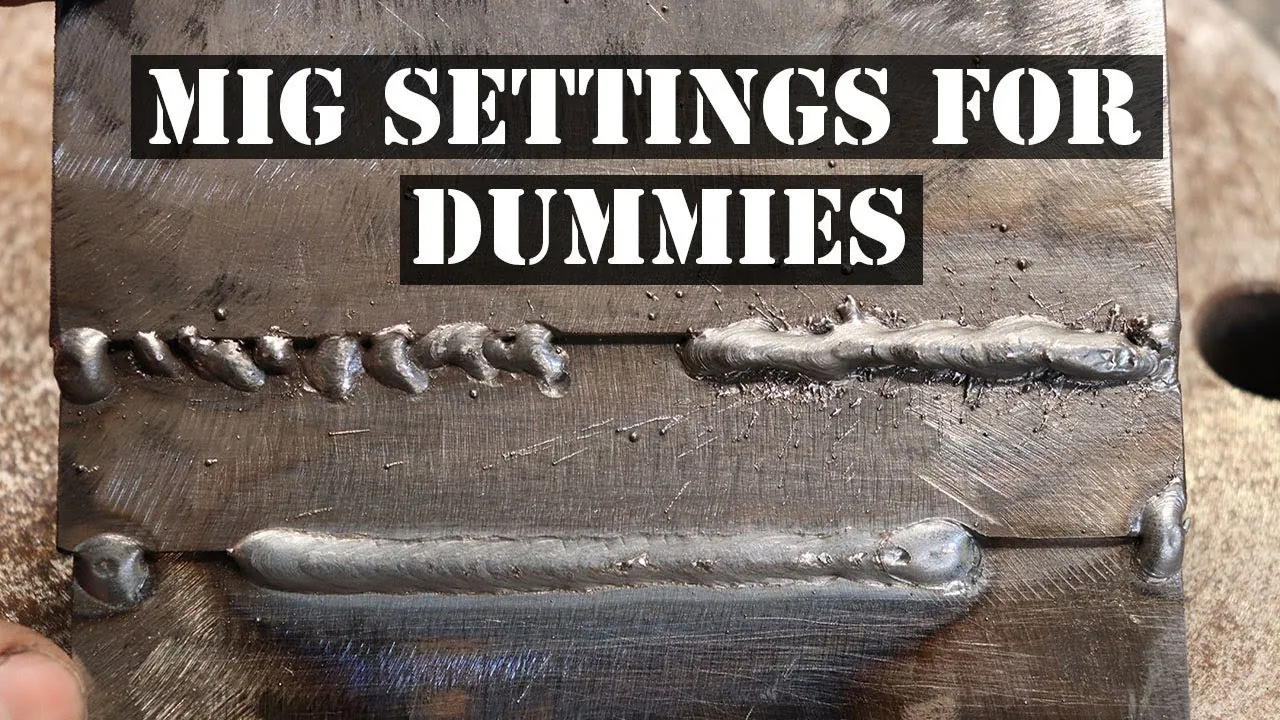
Welding joins two pieces of metal by melting them together into one piece. You’ll use it for repairs, gates, trailers, and simple fabrication. It’s for anyone willing to practice on scrap first.
Welding isn’t mostly about the machine. It isn’t. Heat control and travel speed decide whether the bead holds.
If the metal is dirty, rusty, or painted, the arc won’t run steadily. Clean steel welds; dirty steel fights.
How to weld for beginners
- Clear the area. Remove anything flammable within about 35 feet, and set up a screen so nobody nearby looks at the arc.
- Put on the gear. Welding helmet with a shade 10 lens for stick welding, leather gloves, long sleeves, and boots. Never weld in synthetic fabric.
- Set the machine. For 1/8-inch (3.2 mm) mild steel rod, set the amperage from your machine’s door chart. Check your machine’s door chart for your exact rod size and thickness.
- Prep the metal. Grind to bare, shiny steel, then clamp the ground lead to the workpiece, close to the joint.
- Strike the arc. Drag the rod tip across the metal like striking a match, then lift to about 1/8 inch and hold that gap.
- Run the bead. Move at a steady speed, watching the molten pool, not the arc. Too fast gives a thin, tall bead; too slow burns through.
- Chip and inspect. Let it cool, chip the slag off with a chipping hammer, then look at the bead shape.
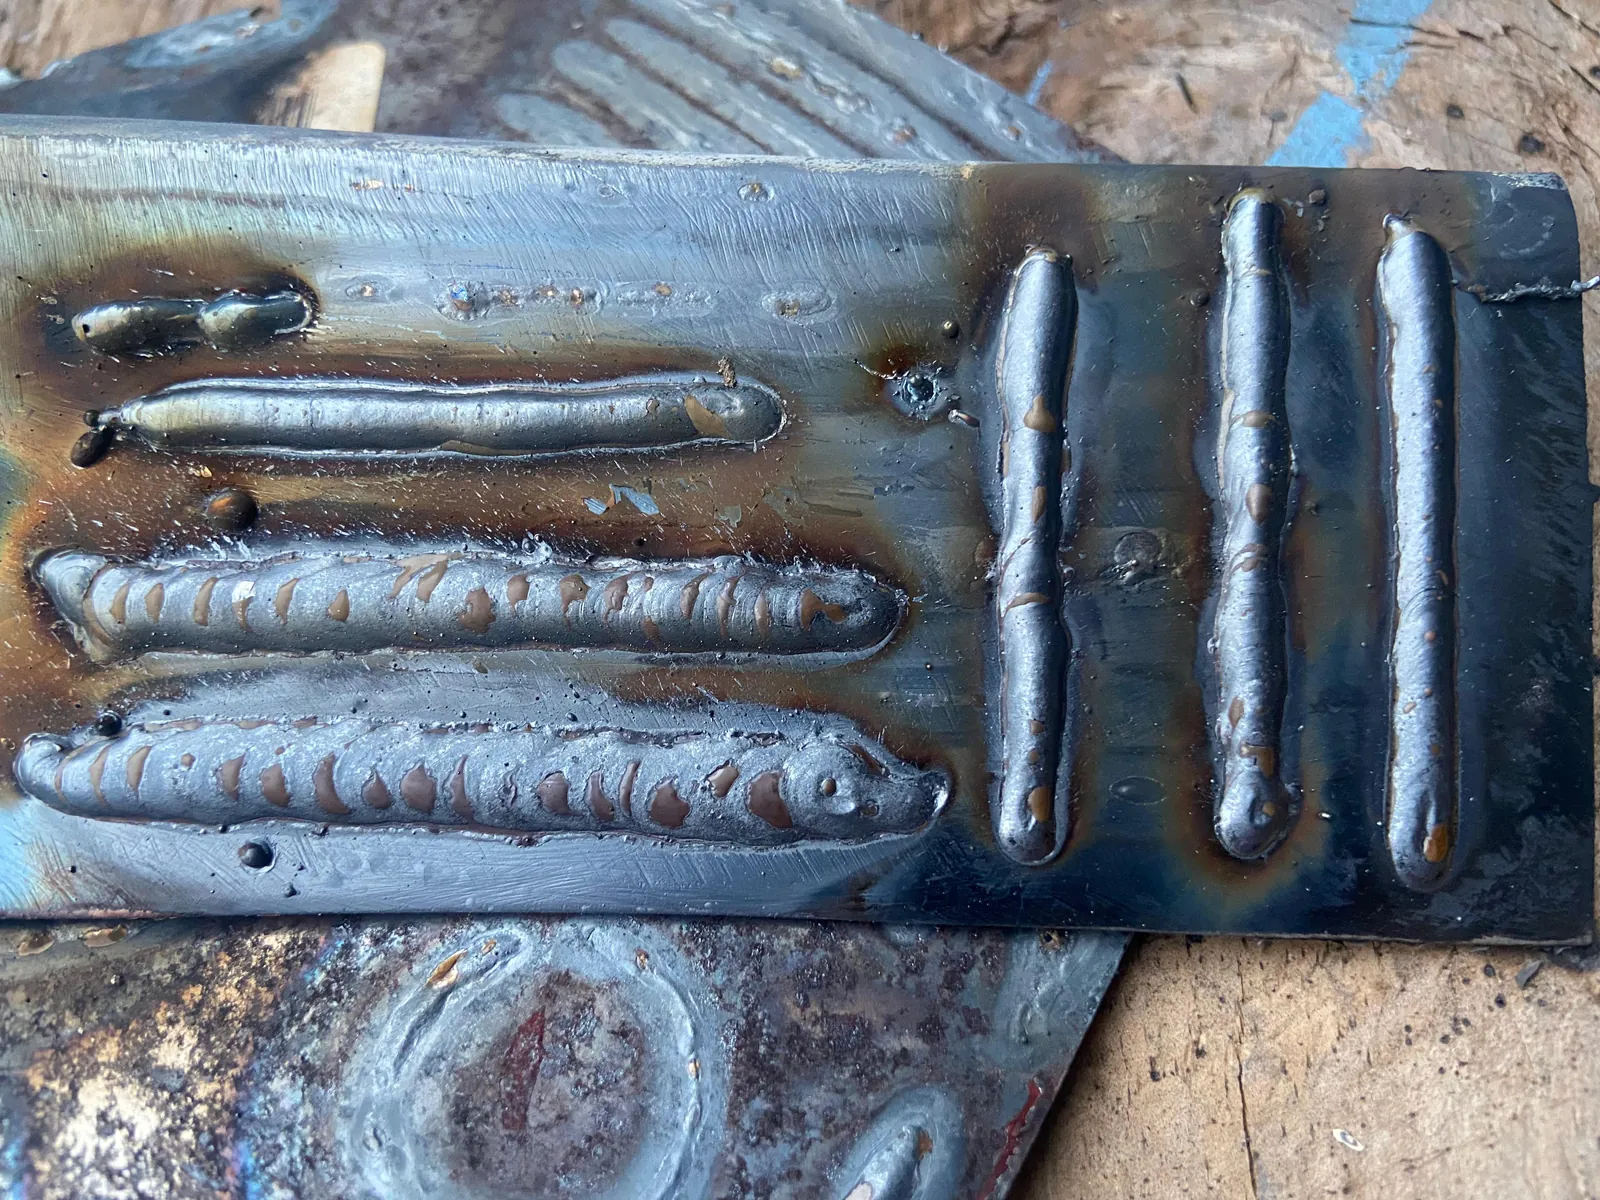
The judgement call is travel speed. A good bead looks like flat, overlapping ripples. Tall, rope-like beads mean you moved too fast. Wide, sunken beads mean too slow or too many amps.
Welding carries real risks — arc eye, burns, fumes, and fire. Structural work, like a trailer hitch, belongs with a certified welder.
Settings and sizes at a glance
These are starting points for mild steel. Your machine’s chart overrides them.
| Situation | What to use | How long | What to watch for |
|---|---|---|---|
| 1/8 in steel, flat | 3/32 in rod, 80–100 amps | Steady travel, one pass | Bead too tall means you moved fast |
| 1/8 in steel, flat | 1/8 in rod, 90–120 amps | Steady travel, slower hand | Burn-through on thin edges |
| 1/4 in steel | 1/8 in rod, 120–140 amps | Multiple passes per joint | Cold lap if you rush passes |
| 1/16 in sheet | 3/32 in rod, 60–80 amps | Short beads | Warping and blow-through |
| Vertical up | 1/8 in rod, 10–15 amps lower | Short arc, tight weave | Slag running ahead of the pool |
| Overhead | 3/32 in rod, 10 amps lower | Small, fast beads | Falling molten metal — full leathers |
| Practice beads on scrap | Any rod, any setting | 20–30 minutes a session | Consistency, not speed |
What separates a clean bead from a bad one
Experienced welders spend more time preparing than welding. They grind the joint clean, fit the pieces tight with a small gap, and tack them in place before running a full bead. Skipping prep is the fastest way to a weld that looks fine and breaks later.
They also work in a set order. Tack both ends first, then the middle, then weld in short runs and let the metal cool between passes. Moving around the part keeps heat from building in one spot, which is what pulls thin steel out of shape.
Partway through, they stop and check the bead, not the clock. If the bead is wandering, the fix is usually a fresh rod, a cleaner surface, or a small amp change.
What they leave alone matters too. They don’t grind a good bead flat to make it pretty, and they don’t re-weld a joint that already passed a visual check. Extra heat weakens the metal around the weld.
Common problems and quick fixes
| What you notice | What it usually means | What to do first |
|---|---|---|
| Rod sticks to the metal | Amps too low, or arc too short | Turn amps up 10 and pull the rod back slightly |
| Bead is tall and narrow | Travel speed too fast | Slow your hand and watch the pool spread |
| Holes burned through | Amps too high for the thickness | Drop 10–15 amps and use shorter beads |
| Spatter everywhere | Arc too long, or damp rods | Shorten the arc; store rods in a dry place |
| Slag won’t come off | Bead ran too cold | Raise amps slightly and chip while warm |
| Weld looks fine but cracks later | Dirty metal or a cold joint | Grind to bare steel and redo the pass |
The rules that apply
Welding is regulated by workplace safety bodies, and the rules exist because the hazards are real. In the US, OSHA sets requirements for welding ventilation, eye protection, and fire watch. The American Welding Society (AWS) publishes the filler metal specifications and the safety guidance most shops follow. For home work, check your local fire code before welding in a garage or shed — many areas restrict open flame and hot work.
Keeping your setup working
Store rods somewhere dry — moisture in the flux causes spatter and poor arcs, so keep them in a sealed rod guard or a warm, dry cabinet. Clean the machine’s vents and check the ground clamp and leads for cracks before each session. Replace a lens that’s scratched or pitted, since you can’t see the pool clearly through it.
When welding isn’t the right call
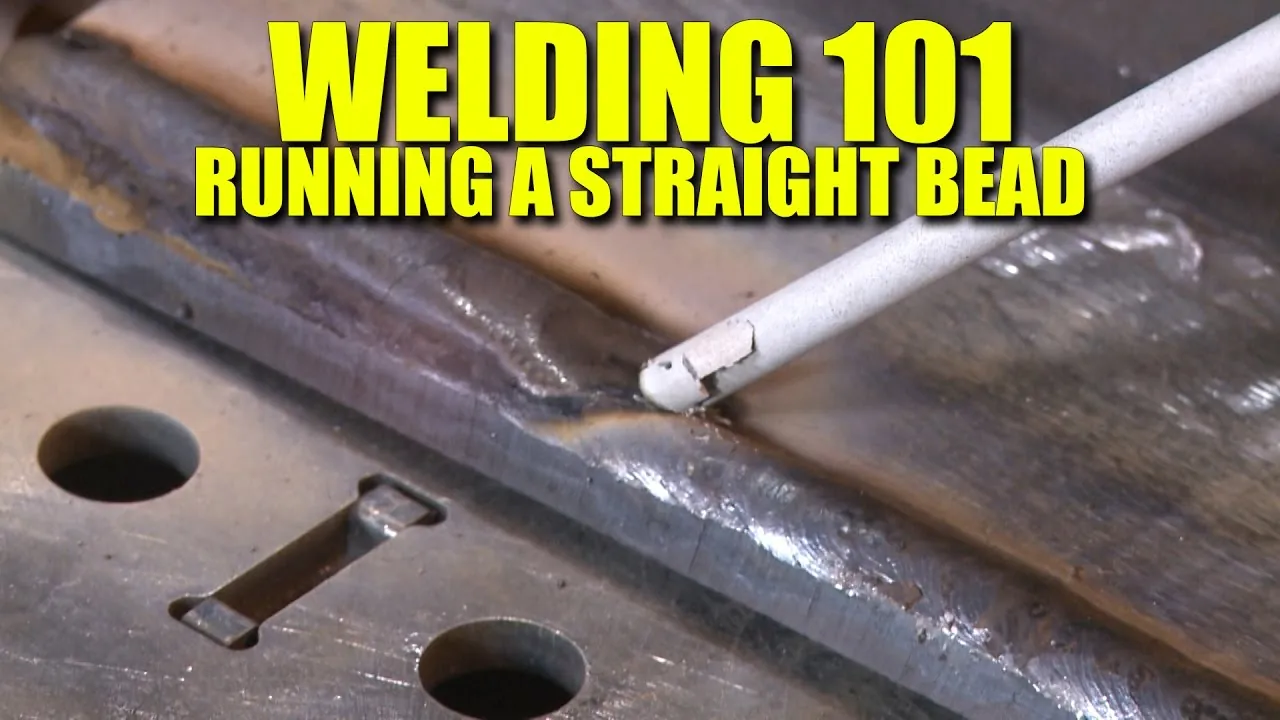
If the parts are aluminum or stainless, stick welding is a poor fit — you’d want TIG or a spool gun setup instead. If the joint carries load, like a trailer frame, take it to a certified welder.
Frequently asked questions
How long does it take to learn welding?
You can run a decent bead on scrap in 2–4 hours of practice. Getting consistent enough for real work takes 20–40 hours.
How much does a beginner welder cost?
A basic stick welder is inexpensive compared with the alternative, and a helmet, gloves, and rods add a modest amount more. Prices vary, so check current listings.
Is welding safe for beginners?
Yes, with the right gear. Wear a shade 10 helmet, leather gloves, and long sleeves, and keep a fire extinguisher within reach.
Why does my rod keep sticking?
Low amps or too short an arc. Turn the amps up about 10 and hold a slightly longer gap.
Can I weld with no experience?
Yes. Start on scrap steel with 1/8-inch rod before you touch a real project.
What happens if I weld without a helmet?
You’ll get arc eye — a painful burn on the eye’s surface that shows up hours later. Always wear a helmet with the correct shade lens.
How often should I replace my welding lens?
Replace it when it’s scratched, pitted, or cloudy enough that you can’t see the pool clearly. There’s no fixed schedule — it depends on how much you weld and how you store it.
Conclusion
Welding rewards patience more than talent. Run beads on scrap until the shape looks right, then move to real joints.
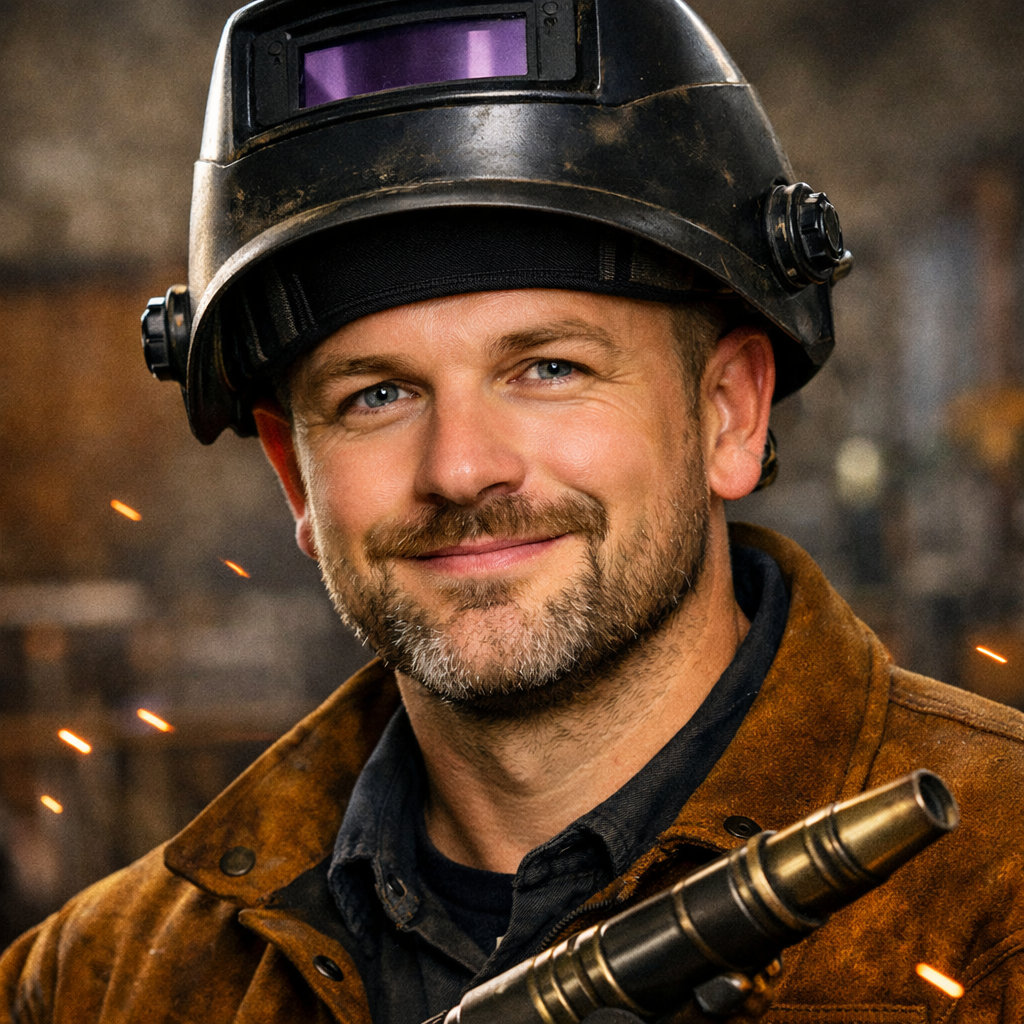
Hi, I’m Zachary Ford. I’m passionate about welding and dedicated to helping both beginners and experienced welders make informed decisions. I research, test, and write about welding helmets, welding machines, safety equipment, and essential workshop tools. My goal is to provide honest reviews, practical buying guides, and easy-to-follow tutorials that help you weld more safely, work more efficiently, and choose the right gear with confidence.