
Welding Helmet Safety Tips
Welding can be a rewarding skill, but it comes with serious risks. If you weld without the right protection, you can suffer burns, eye damage, and even permanent injury. The welding helmet is your first line of defense. It does more than just block sparks, it protects your eyes, skin, and even your lungs from harmful rays and debris.
Using a helmet properly is not as simple as putting it on; you need to know how to choose, wear, and care for it. This guide will help you understand the key safety tips for using welding helmets, avoid common mistakes, and keep yourself safe while working.
Why Welding Helmets Matter
Welding creates strong light, heat, and flying particles. The arc flash can damage your eyes in seconds. Burns from molten metal and UV rays are also common. A proper welding helmet shields you from these dangers.
But not all helmets are the same. Some have basic glass, while others use advanced auto-darkening filters. Choosing the wrong helmet, or using it incorrectly, increases your risk. Even small mistakes, like a cracked lens or a loose strap, can lead to accidents.
So, knowing the basics is not enough; you need to use your helmet the right way every time.
Choosing The Right Welding Helmet
Selecting the best helmet depends on your work and budget, but safety should always come first. Here are the main types of welding helmets:
| Type | Main Feature | Best For |
|---|---|---|
| Passive Helmet | Fixed shade lens | Simple jobs, low budget |
| Auto-Darkening Helmet | Lens darkens automatically | Frequent welding, high comfort |
| Powered Air-Purifying Respirator (PAPR) | Built-in air filter | Welding in hazardous air |
Key Factors To Consider
- Lens Shade Level: The shade number blocks different light intensities. Most welders use shade 10–13. Too light, and you risk eye damage; too dark, and you can’t see your work.
- Reaction Time: Auto-darkening helmets have a speed rating (switching time). Faster is safer—look for 1/10,000 second or better.
- Viewing Area: A larger lens helps you see more, reducing neck strain from moving your head.
- Comfort and Fit: Adjustable headbands and padding make long jobs safer and less tiring.
- Weight: Lighter helmets reduce neck pain, especially for all-day use.
- Certification: Check for ANSI Z87.1 (USA) or EN175 (Europe) marks. These prove the helmet meets safety standards.
Beginner insight: Many new welders focus only on lens darkness but forget about comfort. An uncomfortable helmet leads to poor posture and mistakes. Always try on the helmet before buying if possible.
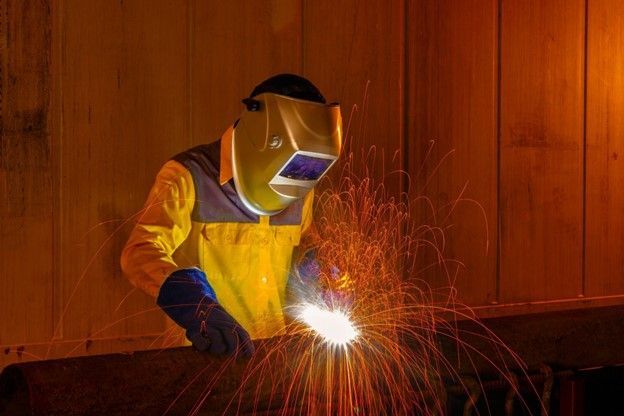
Credit: www.3-bwelding.com
Proper Helmet Adjustment
A helmet that does not fit well can slip, block your vision, or even fall off. Here’s how to adjust your helmet:
- Place the helmet on your head and tighten the headband until it feels snug, but not painful.
- Adjust the top strap so the helmet sits low on your forehead and covers your chin.
- Test the flip-up function (if present) to make sure it moves smoothly but stays in position.
- Set the lens distance—about 1–1.5 inches from your face is ideal.
- If your helmet has a sweatband, keep it clean for better comfort.
Common mistake: Some welders wear hats or hoods under the helmet. This can affect fit and reduce protection. Use only items approved for use with welding helmets.
Safe Use During Welding
Even with the best helmet, you must use it correctly. Follow these steps each time you weld:
- Inspect your helmet before every use. Look for cracks, loose parts, or dirty lenses.
- Clean the lens with a soft cloth. Never use harsh chemicals—they can damage coatings.
- Set the correct shade level for your welding process (see the manufacturer’s chart).
- Make sure the helmet covers your face and neck completely.
- Keep your head steady. Sudden moves can shift the helmet or break the seal.
- After welding, lift the helmet only when you are sure the arc is off.
| Welding Process | Recommended Shade | Notes |
|---|---|---|
| MIG Welding | 10–13 | Depends on amperage |
| TIG Welding | 9–13 | Lower amperage, lower shade |
| Stick Welding | 10–13 | Use higher shade for higher amps |
Non-obvious tip: If you wear prescription glasses, use a helmet that fits over them or has a built-in lens holder. This keeps both your vision and safety at the highest level.
Regular Maintenance And Inspection
A helmet in poor condition can be as risky as no helmet at all. Here’s how to keep your gear in top shape:
- Daily Cleaning: Remove dust and splatter from the lens, shell, and headband after each use.
- Monthly Check: Examine all parts for wear, especially the lens, batteries (for auto-darkening), and straps.
- Replace Damaged Parts: Even small cracks or scratches in the lens can let through dangerous rays. Replace immediately.
- Battery Change: For auto-darkening helmets, change batteries as soon as you notice slow response or dim displays.
- Store Properly: Keep the helmet in a clean, dry place, away from direct sunlight and chemicals.
| Part | Common Problem | Action Needed |
|---|---|---|
| Lens | Scratches, fogging | Clean or replace |
| Headband | Loose, worn out | Tighten or replace |
| Batteries | Low power, not charging | Replace with new batteries |
| Shell | Cracks, burns | Replace helmet |
Beginner insight: Some people forget about the side and back of the helmet. Damage here can still let in UV rays and cause burns. Inspect the whole helmet, not just the front.
Dealing With Fogging And Visibility Issues
Good vision is essential for safe welding. However, fogging and dirty lenses are common problems. Here’s how to keep your view clear:
- Use an anti-fog spray or wipes on the inside of the lens.
- Make sure your helmet has enough ventilation. Some helmets include small vents—do not block them.
- If fogging is a big problem, consider a helmet with a battery-powered air supply.
- Always clean both sides of the lens before starting work.
- For outdoor welding, shield yourself from wind, which can blow dust onto the lens.
Non-obvious tip: Avoid breathing directly onto the lens when you put the helmet on. Warm breath causes quick fogging.
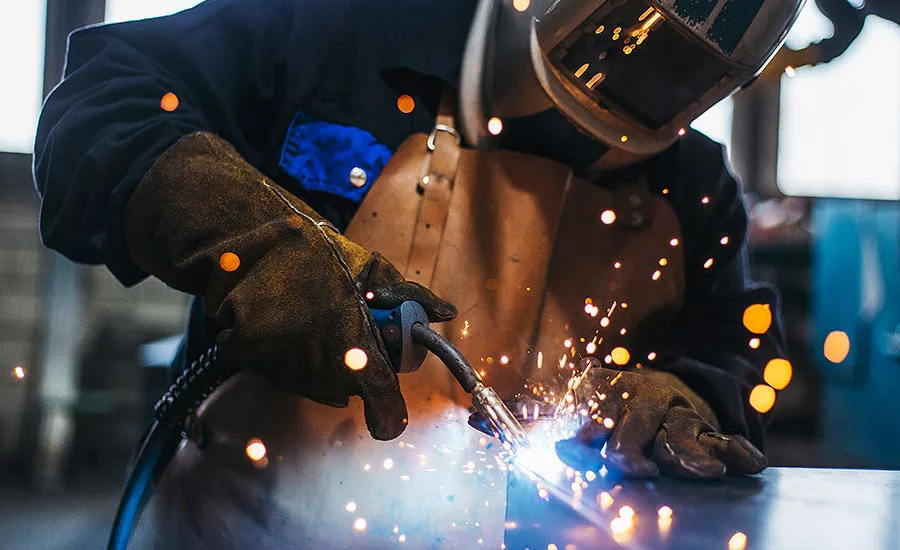
Credit: www.ishn.com
Eye And Skin Protection Beyond The Helmet
A welding helmet alone is not enough. You must protect other parts of your body:
- Wear flame-resistant clothing. Synthetic fabrics can melt and burn your skin.
- Use welding gloves to protect your hands from heat and sparks.
- Cover your neck with a welding hood or bandana.
- Wear safety glasses under your helmet. Helmets protect from direct rays, but glasses block stray sparks and UV rays from the sides.
- For overhead welding, use a helmet with a full face and throat cover.
Common mistake: Some welders lift their helmets between welds but stay close to the work. This exposes their eyes and skin to UV rays and hot metal, even for just a second.
Working Safely In Different Environments
Not all welding jobs are in the same place. Your helmet use should change with your environment:
- Outdoors: Use a helmet with a sunshade or anti-glare coating. Wind can carry sparks, so check your helmet’s side protection.
- Confined spaces: Choose a compact, lightweight helmet. Make sure it does not block your escape route.
- High-heat areas: A helmet with a heat-resistant shell is a must.
- Hazardous fumes: Use a PAPR helmet for clean air.
Adjust your helmet use for each job. Never compromise on safety because of convenience.
What To Avoid: Dangerous Shortcuts
Some welders, especially those with experience, may skip steps. This can be dangerous. Avoid these common shortcuts:
- Not wearing the helmet for quick welds—accidents happen fast.
- Using a damaged helmet because “it’s just a small job.”
- Covering cracks with tape instead of replacing the part.
- Skipping lens cleaning, which reduces visibility and safety.
- Using non-certified helmets to save money.
Every shortcut increases your risk. Professional welders know that safety is always worth the extra minute.
Training And Awareness
Even the best helmet is useless without proper training. Learn how to:
- Adjust your helmet for different jobs.
- Read and understand the manufacturer’s instructions.
- Stay alert to changes in your helmet’s performance.
- Teach others-new welders often copy what they see.
If you are unsure about any setting or feature, ask a supervisor or a more experienced welder. Safety is a shared responsibility.
For more detailed safety information, see the OSHA welding safety guidelines.
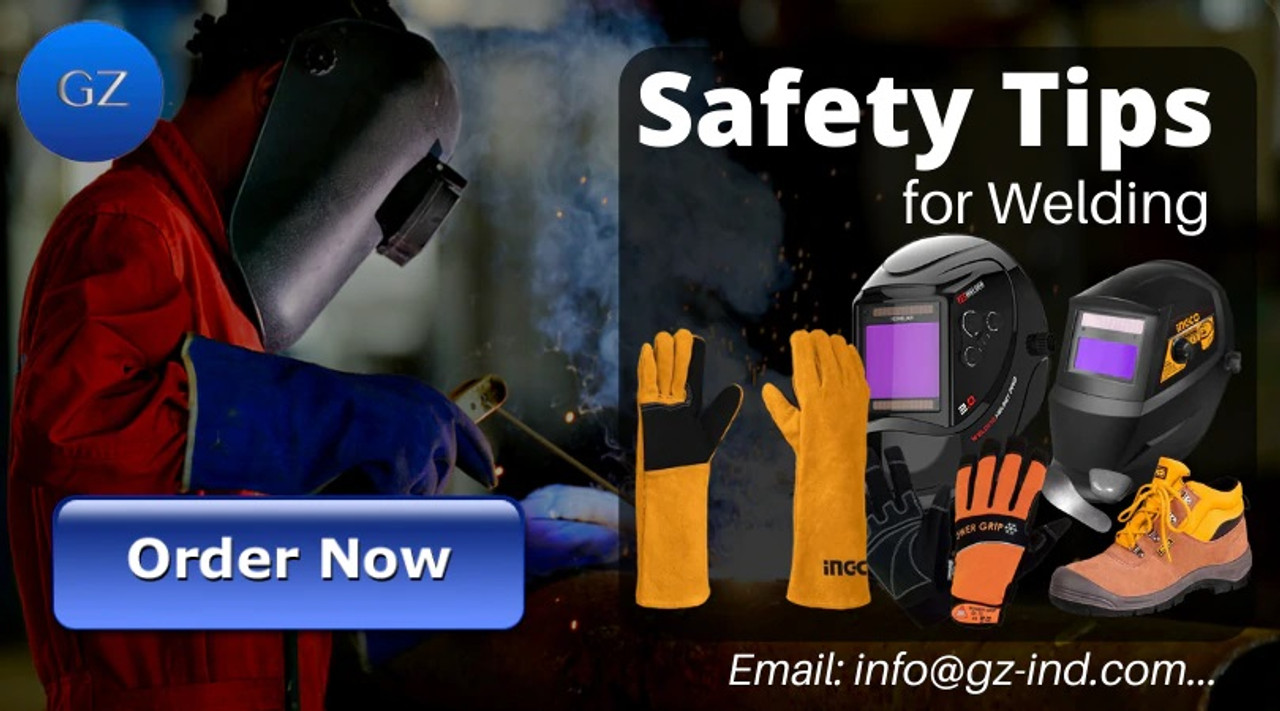
Credit: www.gz-supplies.com
Final Thoughts
A welding helmet is more than just a piece of gear, it’s your shield against some of the most dangerous risks in welding. Choosing the right helmet, adjusting it properly, and maintaining it regularly can prevent painful injuries and even save your eyesight.
Remember, safety in welding is not just about following rules, but making them a habit. Take your time, check your equipment, and never rush a job. With the right mindset and these safety tips, you can weld with confidence and protect yourself for years to come.
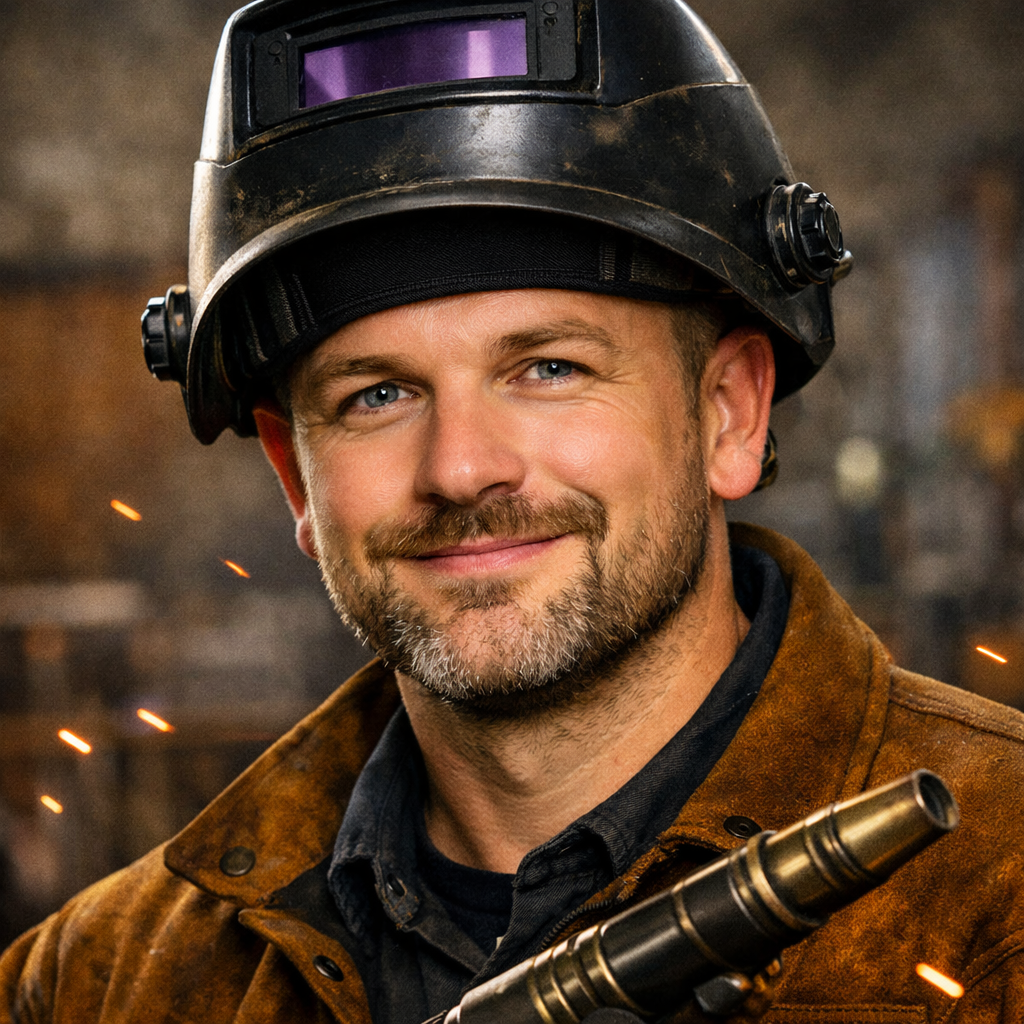
Hi, I’m Zachary Ford. I’m passionate about welding and dedicated to helping both beginners and experienced welders make informed decisions. I research, test, and write about welding helmets, welding machines, safety equipment, and essential workshop tools. My goal is to provide honest reviews, practical buying guides, and easy-to-follow tutorials that help you weld more safely, work more efficiently, and choose the right gear with confidence.