
A portable welder takes electricity from a wall socket or small engine and sends it out as a controlled current that melts metal at the tip of a rod or wire. Think of it like a dimmer switch for a very strong lamp.
Inside a portable welder
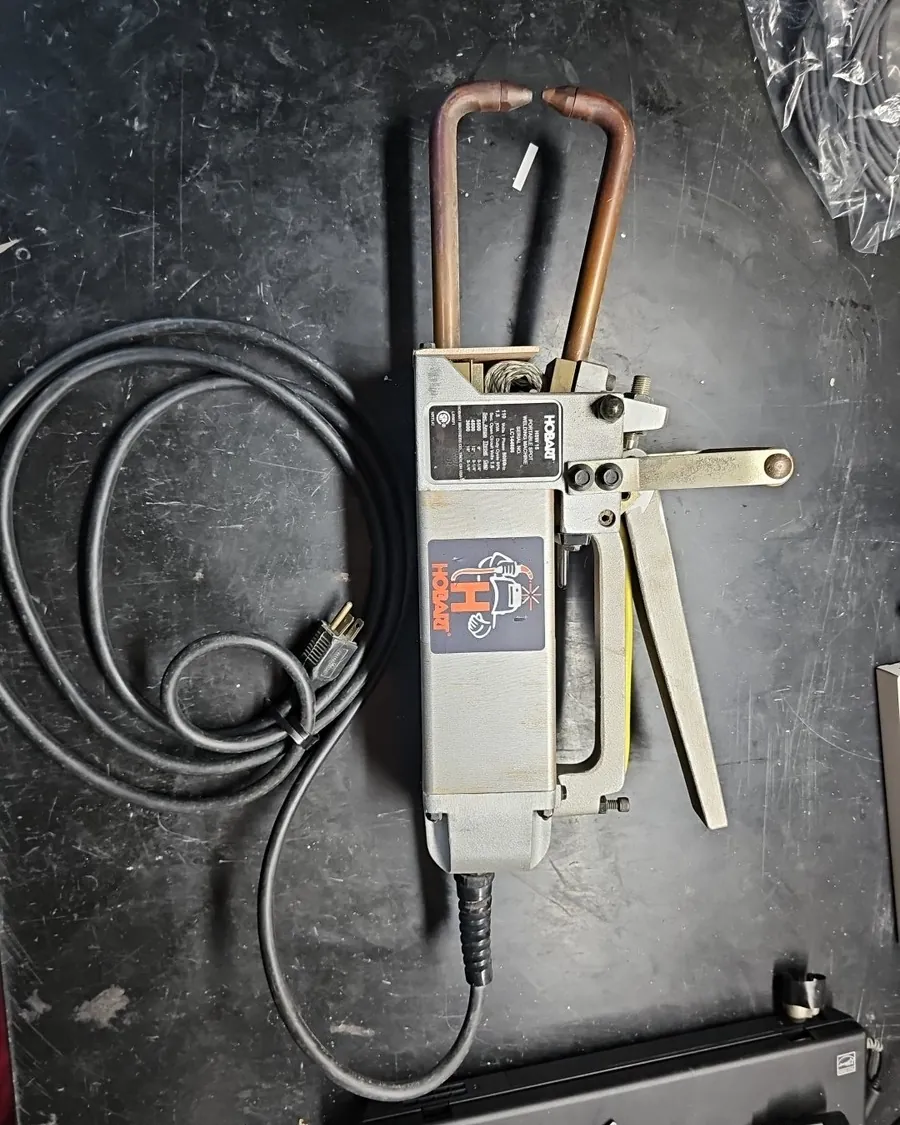
Two jobs happen at once: the machine lowers voltage and raises current, and controls how long that current flows. The table below shows what each part does.
| Part or input | What it does | What you notice when it goes wrong |
|---|---|---|
| Power source | Supplies AC or DC current | No arc, or a weak, sputtering arc |
| Transformer or inverter | Steps voltage down, amps up | Breaker trips, or amps feel wrong |
| Electrode or wire | Melts to fill the joint | Rod sticks, or wire birds-nests |
| Ground clamp | Completes the circuit through the metal | Arc won’t start, or starts poorly |
| Duty cycle rating | Sets how long you can weld before cooling | Machine shuts off mid-bead |
| Shielding gas or flux | Blocks air from the molten pool | Porous, weak, spitting welds |
Duty cycle is the number most people ignore. A machine rated at 20% duty cycle at a given current means 2 minutes of welding, then 8 minutes of cooling, in a 10-minute window. Check the rating plate on your own unit — it varies by model and amperage.
How a portable welder works, step by step
One full cycle runs like this:
- Set up the machine. Plug into a circuit rated for the input amps on the data plate, usually a 20-amp household circuit for small 120V units.
- Attach the ground clamp. Clamp it to bare, clean metal on the workpiece, close to the joint — within about a foot if you can.
- Set your amperage. Match the dial to the electrode size and metal thickness; the rod packaging prints a starting range for a given rod.
- Strike the arc. Drag or tap the rod tip on the metal;
- Hold the arc length. Keep the tip about the thickness of the rod away from the pool; too close and the rod sticks, too far and the arc sputters.
- Move along the joint. Travel at a steady pace, letting the molten pool follow you; a 6-inch bead on 1/8-inch steel takes roughly 10–20 seconds.
- Break and cool. Lift the rod, let the slag cool for a few seconds, then chip it off with a chipping hammer.
- Check the bead. Look for even ripples and full fusion at the edges; a lumpy or porous bead means you’ll adjust amps or travel speed and run it again.
Why the wrong part shows up in the weld

A bad bead usually points at one specific part, not the whole machine. If the arc won’t start, check the ground clamp or outlet first — a loose clamp is the most common cause. If the arc pops and spits, the amperage is too low for the rod size, or the rod has picked up moisture.
Sticking rods point at amps set too low or arc length too short. A bead with no penetration usually means amps too low or travel too fast. Porous welds almost always mean the shielding failed: damp flux, a breeze blowing away gas, or a dirty surface.
Occupational safety agencies track welding-related injuries, and the pattern is consistent: burns, eye damage from arc flash, and fumes. The machine tells you what’s wrong with the weld; it says nothing about what’s wrong with your setup.
What you control, and what you don’t
You can change a lot before you ever touch the metal.
What you control
- Amperage setting on the dial, matched to rod size and metal thickness
- Ground clamp placement — clean metal, close to the joint
- Travel speed and arc length as you move
- Surface prep: grinding off rust, paint and oil before you start
- Electrode choice and storage, keeping rods dry in a sealed container
What’s fixed by design
- Maximum output amps of your machine
- Duty cycle at each amperage setting
- Input voltage the machine was built for (120V or 240V)
- Whether it runs AC, DC, or both
If the job needs more amps than your machine’s rating plate shows, or you’re welding structural steel, pressure vessels or anything load-bearing, stop. That work needs a certified welder and often an inspection. Fumes, arc flash and fire risk are real hazards — read the safety data on the electrode packaging and work in ventilated space with proper eye and skin protection.
Getting more out of your welder
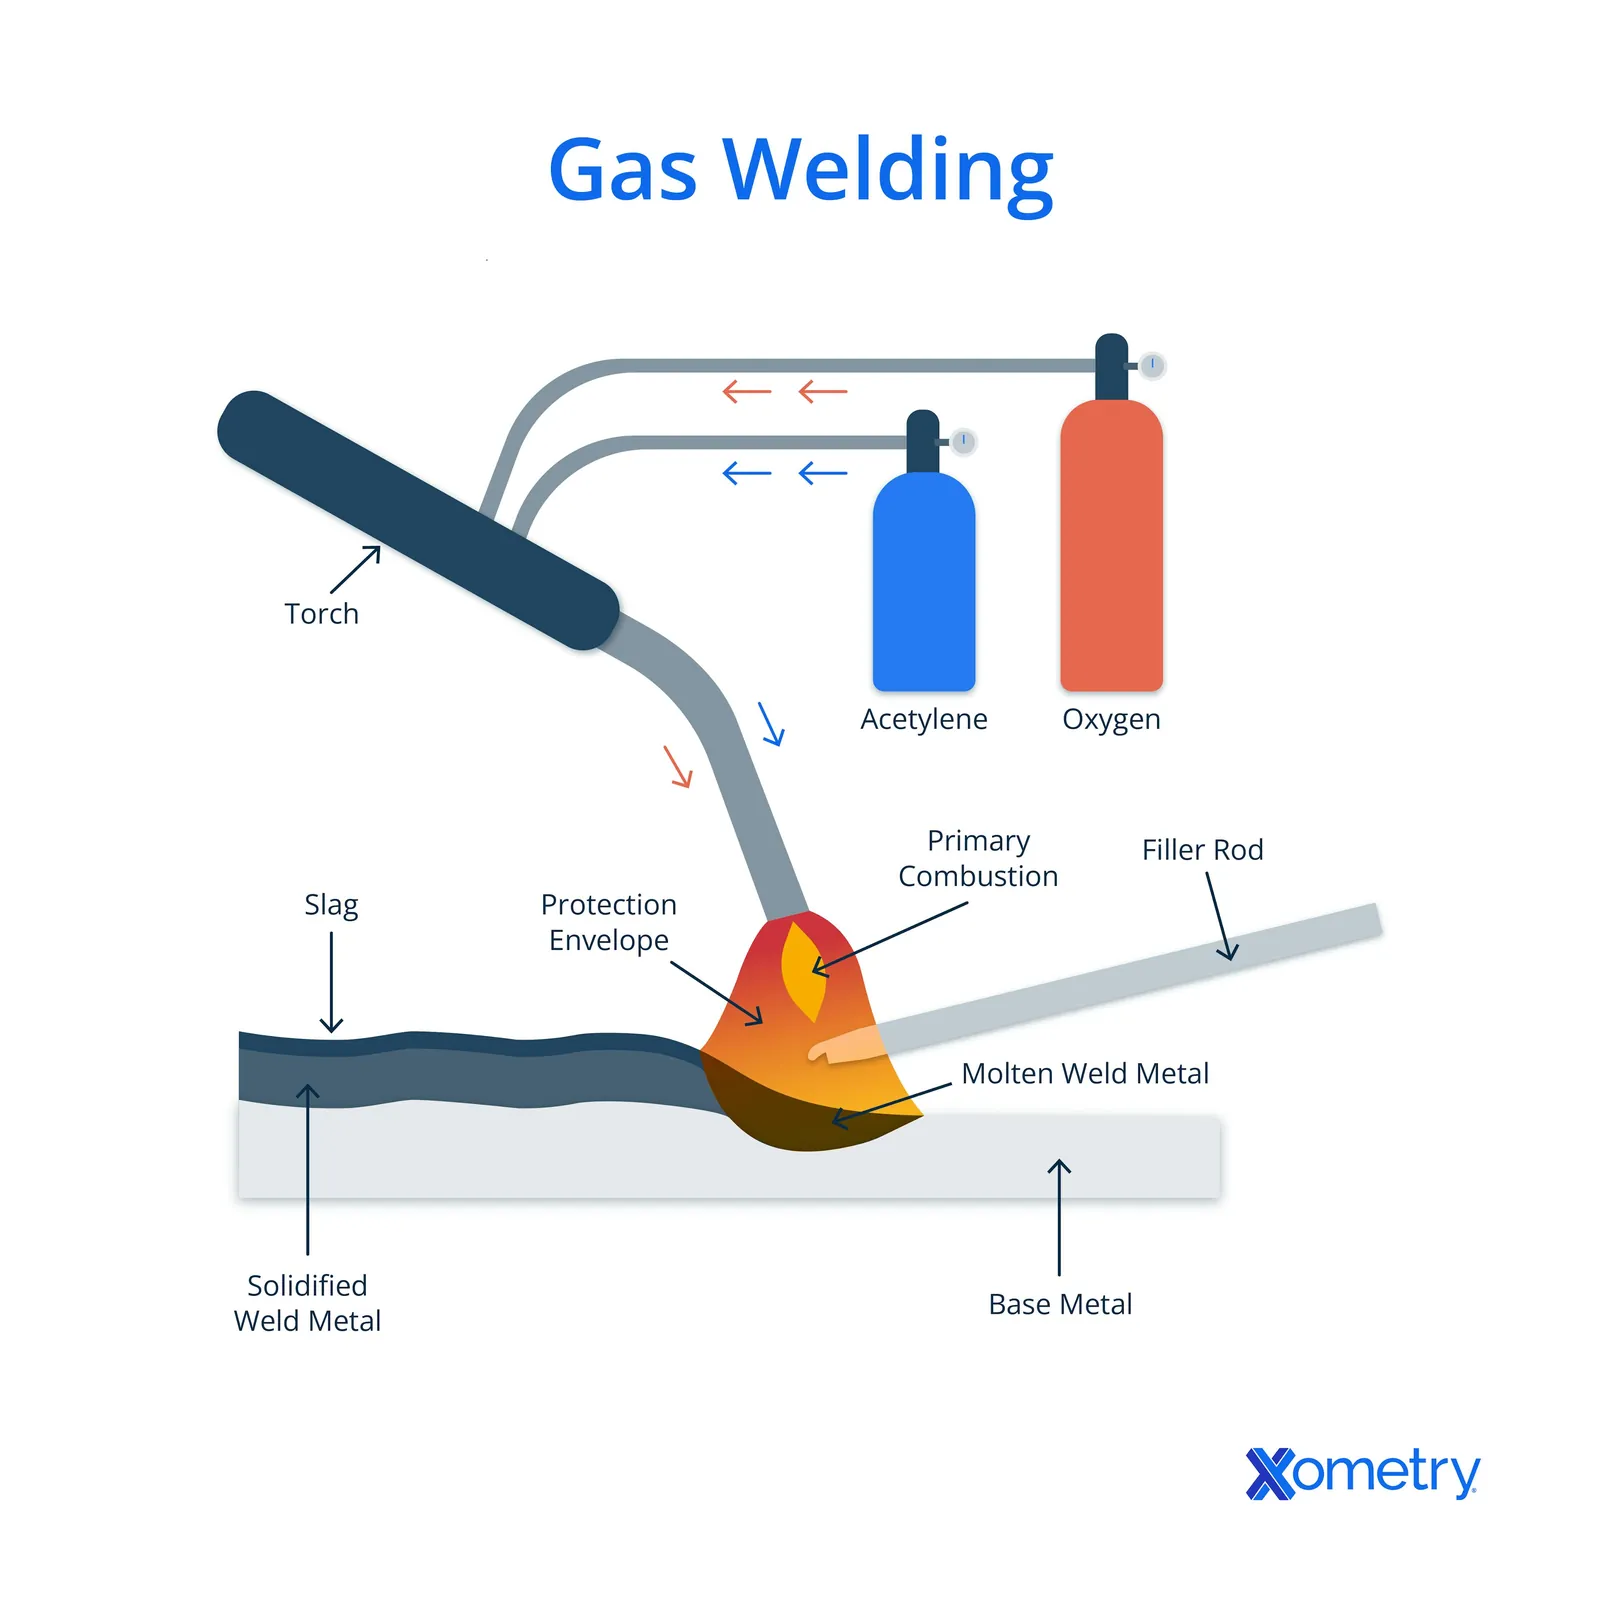
Match the rod to the machine first — Keep rods in a sealed tube with a desiccant pack; damp flux is a common cause of porous beads on stick welds. Clean metal to bare gray before you strike an arc — 30 seconds with a grinder saves a redo.
Watch the duty cycle clock: if your machine is rated 20% at a given current, weld 2 minutes and let it cool 8. And run a test bead on scrap of the same thickness before you touch the real joint.
Frequently asked questions
Can a portable welder run on a normal household outlet?
Yes, if it’s a 120V machine and the circuit is 20 amps. Check the data plate for input current — some units draw close to the breaker limit and will trip it on long beads. A 240V machine needs a dedicated circuit.
Why does my welder keep shutting off?
The duty cycle has run out. Most small machines are rated 20–40% at their top amps, meaning 2–4 minutes of welding per 10-minute window. Let it cool for the rest of the window, or turn the amps down to raise the duty cycle.
How long can I weld before it needs to cool?
It depends on the duty cycle at your current. At 20% and a given current, that’s 2 minutes on, 8 off. The rating plate on your machine prints the exact numbers.
Is it safe to weld in a garage?
Welding sparks travel far and fumes build up fast in a closed space. Keep a fire extinguisher within reach and never weld near gas cans, solvents or painted surfaces.
What happens if I use the wrong amperage?
Too low and the rod sticks, the arc sputters, and the bead sits on top without penetrating. Too high and you’ll burn through thin metal, spatter heavily, and shorten the electrode fast. Start at the middle of the rod maker’s printed range and adjust from there.
Does a portable welder need special wiring?
A 120V unit runs on a standard 20-amp household circuit. A 240V unit needs a dedicated circuit with the correct breaker and outlet, installed by a licensed electrician. Never run a 240V machine on an adapter or extension cord not rated for the amps.
How thick can a portable welder weld?
Thicker metal needs multiple passes, a bevel, or a bigger machine. Check your machine’s amperage range against the rod maker’s chart for the thickness you’re working with.
Does the brand of electrode matter?
Yes, more than most people expect. A quality 6013 or 7018 rod from a known maker strikes and holds an arc more predictably than bargain rods, especially on small machines running near their amp limit. Buy from a welding supplier, not a general hardware bin.
Conclusion
The machine is simple once you see it as a current controller, not a mystery box. Match your rod and amps to the metal, keep the ground clean, respect the duty cycle, and the weld will tell you what it needs.
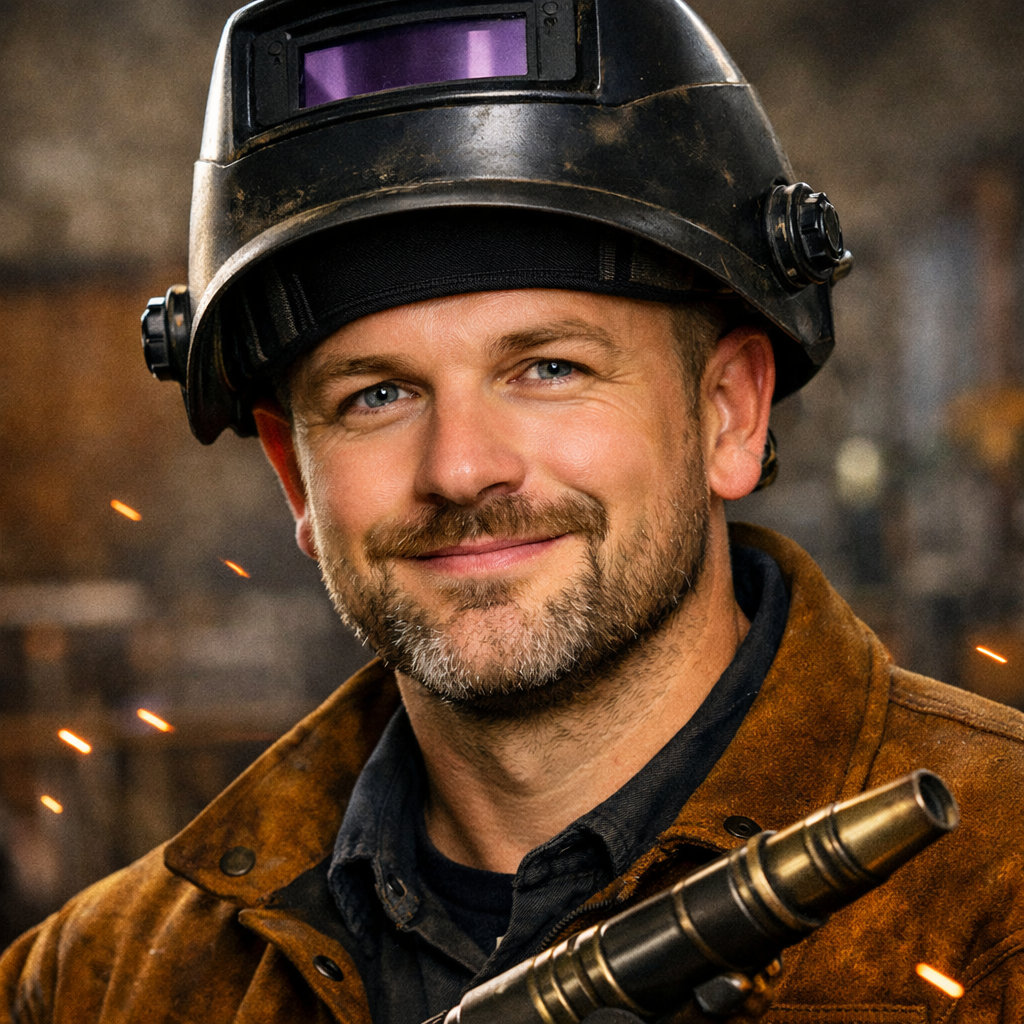
Hi, I’m Zachary Ford. I’m passionate about welding and dedicated to helping both beginners and experienced welders make informed decisions. I research, test, and write about welding helmets, welding machines, safety equipment, and essential workshop tools. My goal is to provide honest reviews, practical buying guides, and easy-to-follow tutorials that help you weld more safely, work more efficiently, and choose the right gear with confidence.