Welding 18-gauge sheet metal for an auto body repair or custom fabrication project often collapses into instant failure with a standard arc welder. Burn-through holes form before the puddle even stabilizes, warping distorts the panel beyond salvage, and the final bead lacks consistent penetration.
This is exactly why welders search for how to weld thin metal with arc welder—SMAW delivers the portability and availability many shops rely on, yet its concentrated heat demands exact decisions on electrode size, amperage, polarity, and motion to achieve fusion without destroying the base material. Getting these variables right separates scrap from serviceable welds on 16- to 22-gauge mild steel.
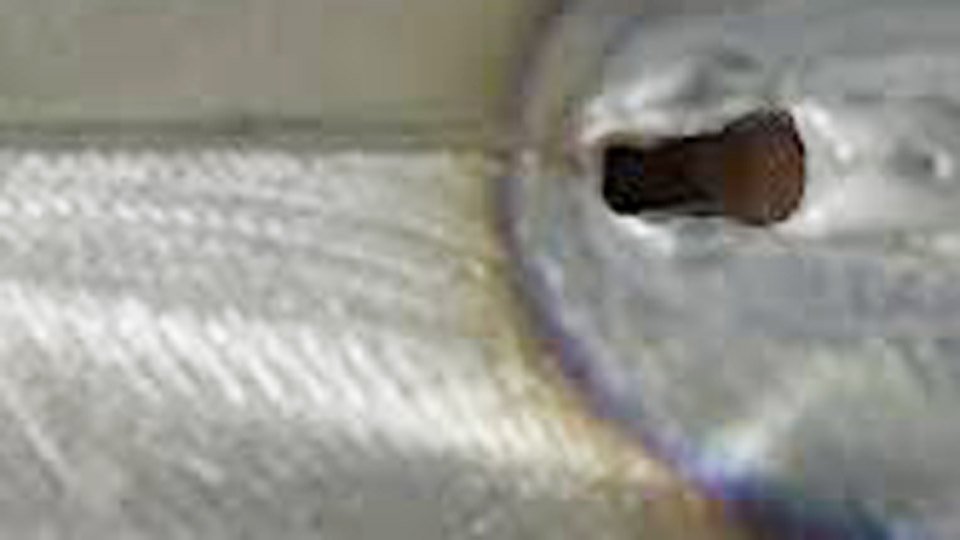
Image by achrnews
Electrode Selection Decisions for Thin Metal Arc Welding
Matching Electrode Diameter to Metal Gauge
Electrode diameter sets the baseline heat input before amperage or travel speed enter the equation. For material 0.030 to 0.060 inches thick, restrict choices to 1/16-inch or 3/32-inch diameters. Larger rods force higher minimum amperage to maintain arc stability, pushing total heat past the thin sheet’s tolerance.
A 1/16-inch rod on 22-gauge steel runs comfortably at 30-50 amps; stepping to 3/32-inch on 18-gauge allows 50-75 amps while still keeping the puddle narrow and controllable. Exceeding these diameters on thin stock requires dropping amperage so low that the arc becomes unstable and sticks frequently.
E6013 as the Primary Electrode for Low-Penetration Applications
E6013 electrodes dominate thin-metal work because their rutile coating produces a soft, stable arc with shallow penetration and minimal spatter at low currents. The flux creates a fast-freezing slag that supports the puddle without excessive fluidity, letting the welder maintain control on vertical or horizontal laps without sagging.
In contrast, E6011 digs deeper and runs hotter, increasing burn-through risk on 20-gauge or thinner. E7018, while low-hydrogen, demands higher amperage for proper flux activation and produces a more fluid puddle that spreads heat wider on sheet metal. Stick to fresh 6013 stored in a dry rod oven; moisture in the coating causes porosity that weakens thin beads faster than on plate.
Coating and All-Position Performance Factors
Rutile-coated 6013 runs equally well on AC or DC, giving flexibility when the welder lacks polarity selection. Its fast-freeze characteristics support out-of-position tacks on curved panels without excessive dripping.
Avoid high-cellulose electrodes entirely—their aggressive arc and deep penetration guarantee holes in anything under 1/8 inch. Diameter-to-thickness rule: never exceed electrode diameter equal to base thickness; ideally keep it 50-75% of material gauge for optimal puddle confinement.
Establishing Amperage and Polarity for Controlled Fusion
Thickness-Specific Amperage Ranges
Amperage must start at the absolute low end of any electrode chart and be dialed by test weld on identical scrap. The 1-amp-per-0.001-inch rule provides only a starting point; thin metal requires 15-25% lower settings to account for rapid heat buildup. Use this practical range for mild steel with E6013:
| Gauge | Thickness (inches) | Electrode Diameter | Amperage Range (Start Here) | Typical Travel Speed |
|---|---|---|---|---|
| 22 | 0.030 | 1/16″ | 30–50 A | 10–12 ipm |
| 20 | 0.036 | 1/16″–3/32″ | 40–60 A | 9–11 ipm |
| 18 | 0.048 | 3/32″ | 50–75 A | 8–10 ipm |
| 16 | 0.060 | 3/32″ | 60–85 A | 7–9 ipm |
These values assume clean metal and proper fit-up. Increase by 5 amps only if penetration is insufficient on the backside; never chase a cold arc by raising current—fix travel speed or arc length first.
Polarity Selection Based on Welder Output
DCEN (electrode negative) delivers the least penetration and concentrates more heat at the electrode, protecting thin base metal from excessive melting. When the machine offers DC, select straight polarity for 16- to 22-gauge work.
DCEP increases workpiece heating and is reserved for thicker sections needing deeper fusion. AC machines produce acceptable results with 6013 but generate slightly more spatter; compensate by shortening arc length an additional 1/32 inch. Inverter welders with adjustable arc force let you soften the arc further at DCEN, reducing the digging tendency that creates holes.
Fine-Tuning with Arc Force and Hot Start on Inverters
Modern inverter arc welders include arc force (dig) control. Set it to 20-30% for thin metal to maintain a softer, more fluid arc without sticking at low amperage. Hot start at 120-150% for 0.5 seconds ensures reliable ignition without cratering the thin edge on the first strike. Transformer machines lack these features, so compensate with perfect rod angle and immediate motion after striking.
Controlling Heat Input Through Arc Length and Travel Dynamics
Precise Arc Length Management
Maintain arc length at or slightly below electrode diameter—typically 1/16 to 3/32 inch for 3/32-inch rod. A longer arc spreads heat and voltage, increasing total energy into the sheet and promoting burn-through. Short arc concentrates the plasma column, allowing lower amperage while still achieving fusion.
Visual cue: the arc should produce a tight, hissing sound rather than a crackling one. If the rod sticks, lengthen by 1/32 inch momentarily then return to short.
Travel Speed and Puddle Behavior Monitoring
Travel speed directly limits heat input per linear inch. Target puddle width 1.5 to 2 times electrode diameter and move fast enough that the trailing edge solidifies within 1-2 seconds. On 18-gauge at 60 amps, 8-10 inches per minute prevents backside melt-through.
Watch the puddle color: straw yellow is safe; bright orange or red signals excessive heat—accelerate immediately. Pause longer than 0.5 seconds and the sheet will warp or hole.
Execution Techniques for Thin Metal Beads
The Whip Technique for Heat Cycling
The whip-and-pause method alternates forward motion with brief returns to control puddle size on thin stock. Strike the arc, establish a 1/8-inch puddle, then whip the electrode forward 1/4 to 1/2 inch rapidly to break heat input, pause 0.3-0.5 seconds to let the puddle freeze slightly, then return to add filler.
This creates overlapping “stitches” that limit total heat while maintaining continuity. On 20-gauge laps, a 1-inch whip cycle keeps distortion under 1/16 inch across a 12-inch seam.
Stitch and Tack Sequencing to Limit Distortion
Run short 0.8- to 1.2-inch beads, skip 2-3 inches, then resume. Space initial tacks every 1 inch along the joint, alternating sides on double-sided panels. Allow 15-30 seconds cooling between stitches—thin metal dissipates heat slowly once above 400°F. This sequencing keeps cumulative heat below the warping threshold while building a continuous bead.
Electrode Angle and Manipulation for Consistent Beads
Hold the electrode at 15-20° drag angle in the direction of travel for flat and horizontal positions. A perpendicular angle on thin metal causes the arc to push molten metal ahead, creating undercut. Use minimal side-to-side weave—straight drag or slight circular motion keeps the puddle narrow and prevents overheating the edges.
Preparation Steps That Enable Successful Welds
Achieving Zero-Gap Fit-Up
Thin metal tolerates almost no gap. Hammer or dolly panels to within 1/32 inch maximum clearance; any larger gap requires filler that adds uncontrolled heat. Use strong clamps or magnets every 3-4 inches along the seam. For butt joints, a temporary copper backing strip clamped behind the joint acts as both heat sink and support.
Surface Prep for Arc Stability
Grind or wire-brush to bright metal removing mill scale, rust, paint, or oil. Contaminants cause erratic arc starts that instantly burn holes at low amperage. Wipe with acetone immediately before welding; even light fingerprints raise the required starting current.
Backing and Heat Sink Choices
Copper or aluminum backing bars 1/4-inch thick placed directly under the joint absorb excess heat and prevent melt-through on open seams. They also support the puddle during root passes. Avoid steel backing—it transfers heat back into the workpiece.
Real-Time Problem Resolution on the Weld
Correcting for Burn-Through Indicators
When a hole begins forming, immediately lengthen the arc by 1/16 inch and accelerate travel speed by 20%. If the puddle still drops, stop, let the area cool below 200°F, then restart 1/4 inch ahead using a slightly lower amperage setting. Fill small holes with a 1/16-inch rod at 10 amps below normal to minimize further damage.
Managing Warping During Long Seams or Multi-Pass Work
Alternate welding direction every 4-6 inches. Peen the weld bead lightly with a rounded hammer while still warm to stretch the metal back into plane. For severe distortion, clamp a straightedge across the panel and weld in short opposing segments. Post-weld, allow full air cooling before unclamping—forced cooling creates new stresses.
Final Thoughts
The correct electrode, amperage, polarity, and whip travel combination turns arc welding thin metal into a repeatable shop process rather than repeated scrap.
Welders facing 16-gauge fabrication or 22-gauge patch repairs now possess the exact decision framework to match their machine’s output to the material without guesswork or excessive trial-and-error.
On inverter arc welders equipped with adjustable arc force and hot start, dropping 10% below standard amperage while retaining reliable ignition opens applications once considered MIG-only territory.
FAQs
What amperage should I use to weld 18 gauge metal with an arc welder?
Use 50-75 amps with 3/32-inch E6013 on DCEN polarity. Test on scrap and start at the low end; increase only if penetration is insufficient after checking travel speed.
Can you weld 20 gauge sheet metal with a stick welder without burning through?
Yes, with 1/16- or 3/32-inch E6013 at 40-60 amps DCEN, whip technique, and travel speed of 9-11 ipm. Zero-gap fit-up and copper backing are mandatory.
What is the best electrode for thin metal with an arc welder?
E6013 in 1/16- or 3/32-inch diameter. Its soft arc and low penetration outperform 6011 or 7018 on material under 1/8 inch.
Why does my arc weld keep burning through thin metal even at low amps?
Arc length is too long, travel speed too slow, or polarity is DCEP instead of DCEN. Shorten arc to electrode diameter, accelerate travel, and switch to straight polarity if available.