
Cutting thick steel with a grinder can test your patience fast, sparks flying, edges wandering off your line, and hours lost just trying to make one clean cut. After ruining more than a few pieces, I finally decided to understand how does a cnc plasma cutter work and why shops rely on it for precision jobs.
The first time I stood next to one in action, the smooth motion and razor-clean edges caught my attention. But it wasn’t magic. It’s a powerful combination of compressed air, an electrical arc that turns gas into plasma, and a computer guiding the torch exactly where it needs to go.
This matters because accurate cuts mean better fit-up, stronger welds, and far less grinding afterward. It saves material, reduces frustration, and improves overall shop safety. I learned through trial and error that cleaner cuts upfront make every welding step easier.
If you’ve ever wondered what’s really happening inside that bright plasma arc and how the machine follows a design so precisely, let me walk you through it in simple, practical terms.
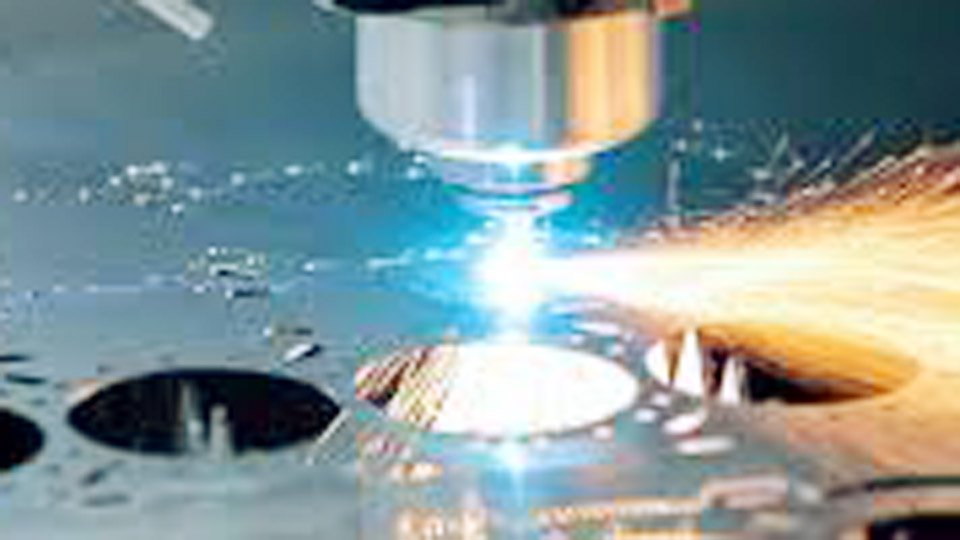
Image paintthebeach
What Is a CNC Plasma Cutter, Anyway?
A CNC plasma cutter is a computer-controlled system that uses a high-temperature plasma arc to slice through electrically conductive metals with speed and precision. The “CNC” part means the torch moves automatically along a programmed path instead of you guiding it by hand.
At its heart, it’s still plasma cutting—the same process you might have used with a handheld torch. The big upgrade is automation. You draw or import a part in CAD, generate toolpaths in CAM software, and the machine handles the motion while the plasma does the melting and blowing.
In my shop, this means I can nest dozens of brackets on a single sheet, hit start, and walk away to prep the next job. The cuts come out consistent enough that welding prep is minimal.
The Science of Plasma: Turning Ordinary Gas Into a Cutting Torch
Plasma is the fourth state of matter—gas superheated until electrons break free from atoms, creating an electrically conductive, extremely hot ionized stream. In a plasma cutter, we force compressed gas (often shop air, oxygen, or nitrogen) through a small nozzle while striking an electric arc.
The arc ionizes the gas, turning it into plasma that reaches temperatures up to 40,000°F. That jet melts the metal instantly, and the high-velocity gas blows the molten material out of the kerf.
The process starts with a pilot arc inside the torch—usually a high-frequency spark or contact start. Once the pilot arc transfers to the workpiece (which is grounded), the main cutting arc forms. The focused plasma does the work.
I remember the first time I fired up a decent system after years of oxy-fuel. The speed shocked me. What used to take 10 minutes with preheat and slow travel was suddenly done in under 60 seconds with almost no heat-affected zone on thinner material.
Breaking Down the Main Components of Your CNC Plasma System
Understanding the parts helps you troubleshoot faster and get better cuts. Here’s what you’re actually working with:
Power Supply
This is the heart—converts incoming electricity into the DC current needed for the arc. Machines like the Hypertherm Powermax series (very common in US shops) are reliable and have good duty cycles for production work. Amperage rating determines thickness capacity: 45A for lighter work, 65-85A for everyday fab, 105A+ for heavier plate.
The Torch and Consumables
The business end. Key pieces inside:
- Electrode: Usually hafnium insert. Carries the current and starts the arc. Wears first.
- Swirl Ring: Swirls the gas to focus and stabilize the plasma column.
- Nozzle: Constricts the plasma into a tight jet. The orifice size matches your amperage.
- Shield: Protects the other parts from spatter and directs secondary gas or air.
Consumables are the parts you’ll replace most often. Always change the electrode and nozzle together when they start looking rough.
CNC Table and Controller
The table has slats to support the plate and usually a downdraft or water system for fume control. The controller runs on G-code from your CAM software and drives the X and Y motors. Torch height control (THC) is critical—it keeps the torch at the perfect standoff distance using arc voltage feedback.
Software
You’ll use CAD for design and CAM (SheetCam, Fusion 360, or dedicated packages like FireControl or Mach3/4) to generate paths, add lead-ins, set speeds, and nest parts.
Step-by-Step: How a CNC Plasma Cutter Actually Cuts Metal
Here’s the sequence I walk new guys through:
- Prep the material — Clean plate, good ground clamp placement, secure on the table.
- Load the program — Zero the machine, home it, load your G-code.
- Set parameters — Amperage, cut speed, pierce height/delay, cut height from the manufacturer’s cut chart.
- Strike the arc — The system creates the pilot arc, transfers to the plate, and the main plasma jet forms.
- Move along the path — CNC drives the torch at the programmed speed while THC maintains height.
- Pierce and cut — For internal features, it pierces first (higher standoff, delay to blow through), then follows the contour.
- End the cut — Proper lead-out prevents divots.
The whole thing is a balance of heat input, speed, and gas flow. Get it right and edges are square with minimal cleanup.
Choosing the Right CNC Plasma Cutter for Your Shop
For most US fabricators and serious hobbyists, a 45-85A air plasma system paired with a 4×4 or 4×8 table is the sweet spot. Brands like Hypertherm, Lincoln, or good budget options from Langmuir or CrossFire deliver solid results.
Consider:
- Material thickness you cut most (match amperage)
- Duty cycle for production
- Table size and fume control (downdraft vs water)
- THC quality—cheap tables without good height control waste consumables fast
I started with a 45A unit on a homemade table. It handled ¼” steel beautifully but struggled on ½” plate. Upgrading to 65A opened up a lot more work without breaking the bank.
Material Compatibility – What You Can Cut Effectively
Plasma shines on any conductive metal:
- Mild steel: Easiest, best edge quality, longest consumable life.
- Stainless steel: Use nitrogen or air/nitrogen mix to reduce oxidation.
- Aluminum: Works well but expect more dross; higher speeds help.
Thickness range depends on power: 45A machines cut cleanly up to about ½”, pierce up to ¾”. 85A units handle ¾–1″ production cutting comfortably.
Non-conductive materials like wood, plastic, or glass? Forget it—plasma needs a completed electrical circuit.
Mastering Your Settings: Amperage, Speed, Height, and Gas
This is where most people lose money on consumables and time.
Amperage: Match to material thickness and desired speed/quality. Higher amps = faster cuts but more heat and wider kerf.
Cut Speed: Critical. Too slow → low-speed dross (bubbly buildup on bottom). Too fast → high-speed dross (small hard beads) and bevel.
Torch Height: Cut height usually 0.06–0.10″. Pierce height 1.5–2x cut height. Good THC makes this automatic.
Gas: Shop air works for mild steel. For stainless and aluminum, dedicated gases or F5 (air + nitrogen) mixtures give cleaner results.
Always start with the manufacturer’s cut chart for your exact consumables and material. Then fine-tune based on what you see coming off the table.
Setting Up and Programming Your First Job
Secure the plate so it can’t shift. Place your ground clamp on clean metal close to the cut area. Nest parts efficiently to save material. Add lead-ins (straight or curved) and lead-outs to avoid start/stop defects on the part itself.
For holes, use the lowest amperage that will pierce reliably and proper overburn techniques. Small holes are tough on air plasma—sometimes drill them instead if tolerance is critical.
Executing Clean Cuts – Shop Floor Techniques That Matter
Cut direction matters: usually clockwise for external contours, counterclockwise for internal holes to keep the good side of the part on the correct side of the kerf.
Watch the arc lag. The plasma column trails slightly behind the torch motion—proper speed keeps the cut vertical.
Keep your air dry and filtered. Water in the line kills consumables and cut quality.
I always do a test cut on scrap in the corner of the sheet before running a full nest. Saves a lot of grief.
Troubleshooting Cut Quality Problems Like a Pro
Common issues I see every week:
Excessive Dross
- Low speed → increase speed
- Worn nozzle/electrode → replace
- Torch too low → raise cut height
- Poor air quality → fix dryer/filter
Bevel / Angularity
- Positive bevel (top narrower) → torch too high or speed too fast
- Negative bevel (bottom narrower) → torch too low or speed too slow
Top Edge Rounding or Spatter
- Torch too high during pierce or cut
Inconsistent Cuts
- Check slats for level, verify THC calibration, ensure good grounding
Inspect consumables daily. A rounded or out-of-round nozzle orifice ruins everything.
Safety Essentials Every Plasma Operator Needs to Know
Plasma produces intense UV light, loud noise, and nasty fumes. Wear proper shade 5–8 lenses (darker than welding in my experience), leather gloves, and flame-resistant clothing. Good ventilation or a downdraft table is non-negotiable—hexavalent chromium from stainless is no joke.
Keep a fire extinguisher handy. Sparks travel. Never cut on a table with flammable residue underneath.
Keeping Your Machine Running Strong – Maintenance and Consumables
Change consumables before they fail completely. I replace electrode and nozzle together every 1–3 hours of arc time depending on amperage and material.
Blow out the torch with clean dry air regularly. Check torch O-rings and cables. Keep slats clean and replace when they get too chewed up—they affect plate level and cut quality.
CNC Plasma vs. Other Cutting Methods: When to Use What
| Method | Best For | Speed | Cut Quality | Cost to Run | Heat Affected Zone | Notes for Welders |
|---|---|---|---|---|---|---|
| CNC Plasma | 1/8″–1″ conductive metals | Very fast | Good to excellent | Low | Moderate | Fastest for most fab work |
| Oxy-Fuel | Thick mild steel (>1″) | Slow | Fair | Very low | Large | Cheap but lots of cleanup |
| Laser | Thin to medium sheets | Fast on thin | Excellent | Higher | Small | Precision but expensive machine |
| Waterjet | Any material, no HAZ | Slow | Excellent | High | None | Best for critical edges or non-metals |
For most welding and fabrication shops in the US, plasma hits the best balance of speed, cost, and capability.
Real-World Applications in Welding and Fabrication
I use mine daily for base plates, gussets, custom brackets, trailer frames, and repair patches. It’s perfect for coping tube, cutting flanges, or making precise patches for structural repairs.
One project that stands out: a customer needed 50 identical heavy equipment repair brackets. With the CNC plasma, we nested them all on three sheets, cut in under an hour, and the fit-up was so good we saved hours in welding and grinding.
Wrapping It Up: Why This Knowledge Pays Off in the Shop
Once you truly understand how the plasma arc forms, how the CNC controls it, and what each setting actually does to the cut, you stop fighting the machine and start getting predictable results. Your parts fit better, welds go in cleaner, and you spend less time fixing mistakes.
Respect the cut charts, but trust your eyes. Run test cuts, note what works on your machine and air supply, and build a cheat sheet for the materials you cut most. That small habit has saved me thousands in consumables and rework over the years.
FAQ
How thick of material can a typical CNC plasma cutter handle?
A 45–65A machine cuts cleanly up to ½”–⅝” and pierces ¾”–1″. 85–105A systems handle ¾”–1″ production cutting comfortably and can go thicker with reduced speed and quality. Always check your specific model’s cut charts.
What gas should I use for cutting stainless steel or aluminum?
Shop air works but leaves more oxidation. For cleaner cuts and better consumable life on stainless, use nitrogen or an air/nitrogen mix. For aluminum, many guys run air successfully, but dedicated gases reduce dross and improve edge appearance.
How often do I need to replace plasma consumables?
It varies with amperage, material, and technique. Expect to change electrode and nozzle every 1–4 hours of actual arc time. Inspect daily—replace at the first sign of wear (rounded nozzle orifice, pitted electrode) rather than waiting for failure.
Why am I getting so much dross on my cuts?
Usually one of these: cutting too slow, torch height wrong, worn consumables, or dirty/damp air. Increase speed into the dross-free zone first, then check height and consumables. Fix air quality if needed.
Can a CNC plasma cutter cut holes accurately?
Small holes (under 1–1.25″) are challenging on conventional air plasma due to arc lag and taper. Use the lowest suitable amperage, proper lead-in techniques, and good THC. For precision holes, many shops drill or use laser/waterjet instead.

Hi, I’m Zachary Ford. I’m passionate about welding and dedicated to helping both beginners and experienced welders make informed decisions. I research, test, and write about welding helmets, welding machines, safety equipment, and essential workshop tools. My goal is to provide honest reviews, practical buying guides, and easy-to-follow tutorials that help you weld more safely, work more efficiently, and choose the right gear with confidence.